

How To Make A Glasgow Smile Makeup With Elmers Glue
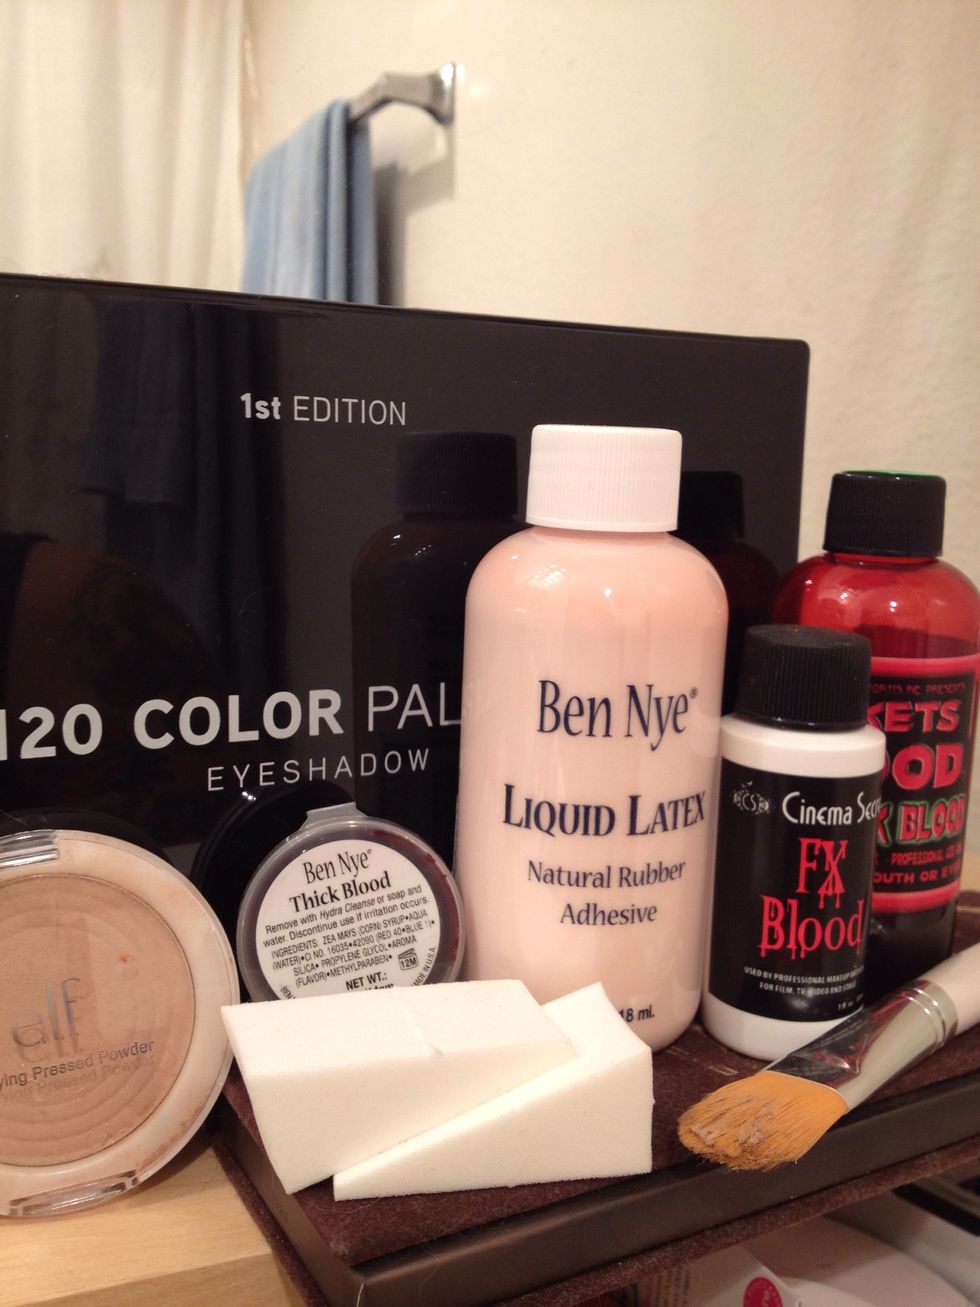
So.. This is my second version of a slit mouth fx for Halloween. I feel this technique looks more like a realistic Chelsea grin (Glasgow smiling). Here are all of the supplies.
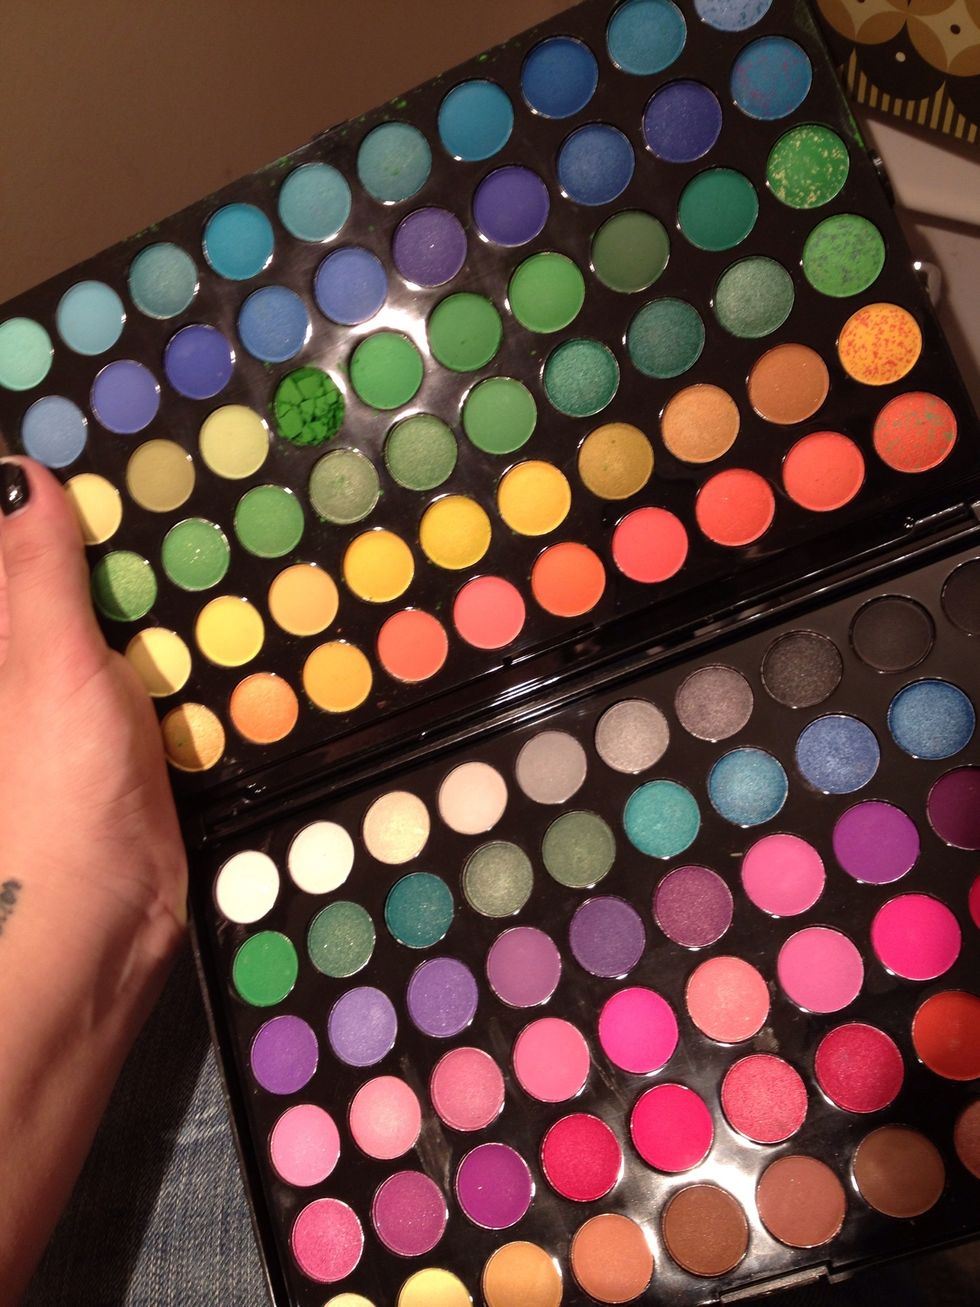
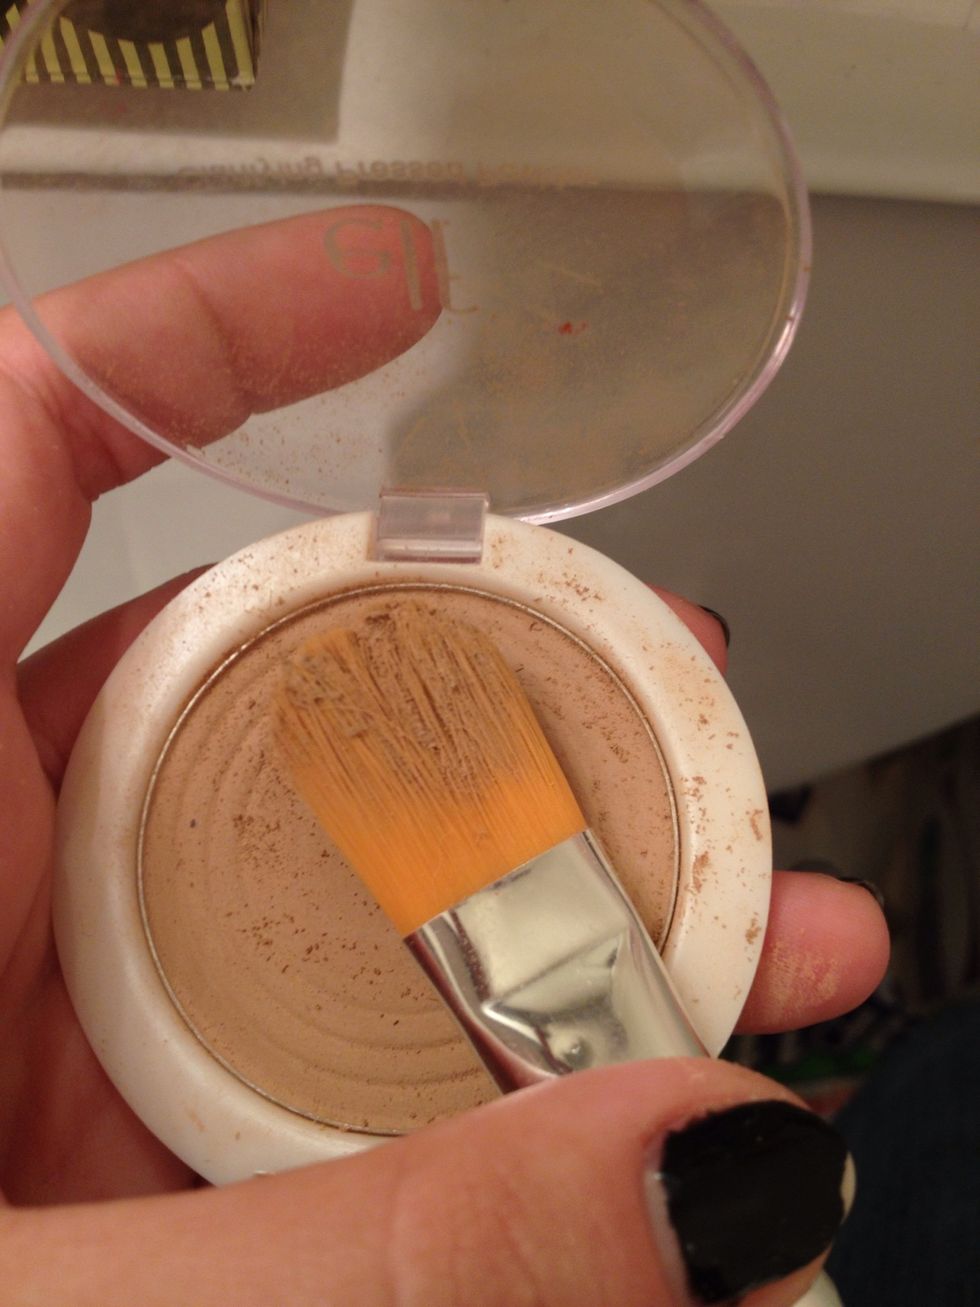
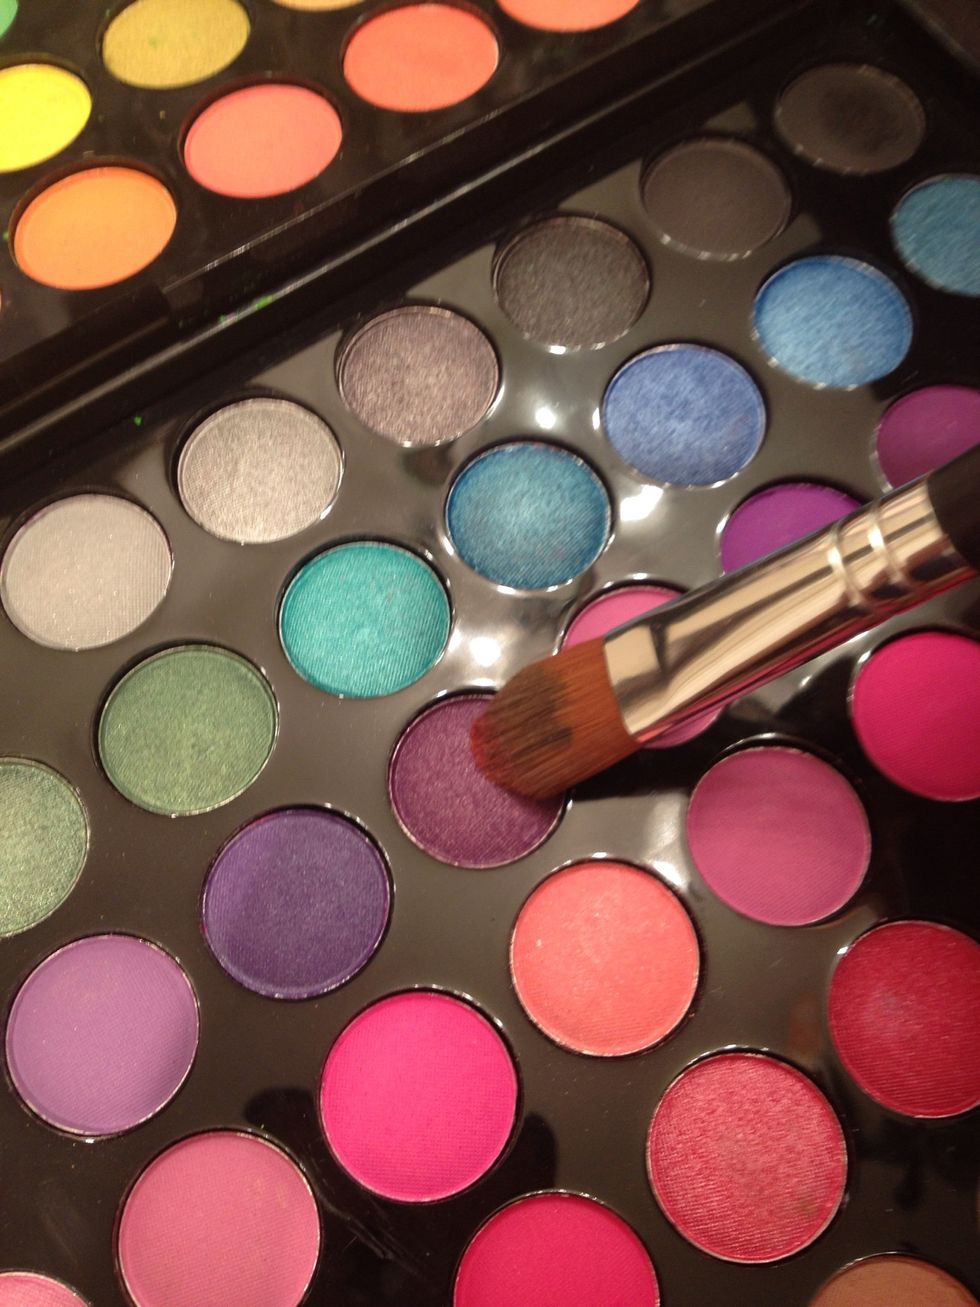
I honey the eyeshadow palettes. You can really get artistic with depth for Fx makeup.
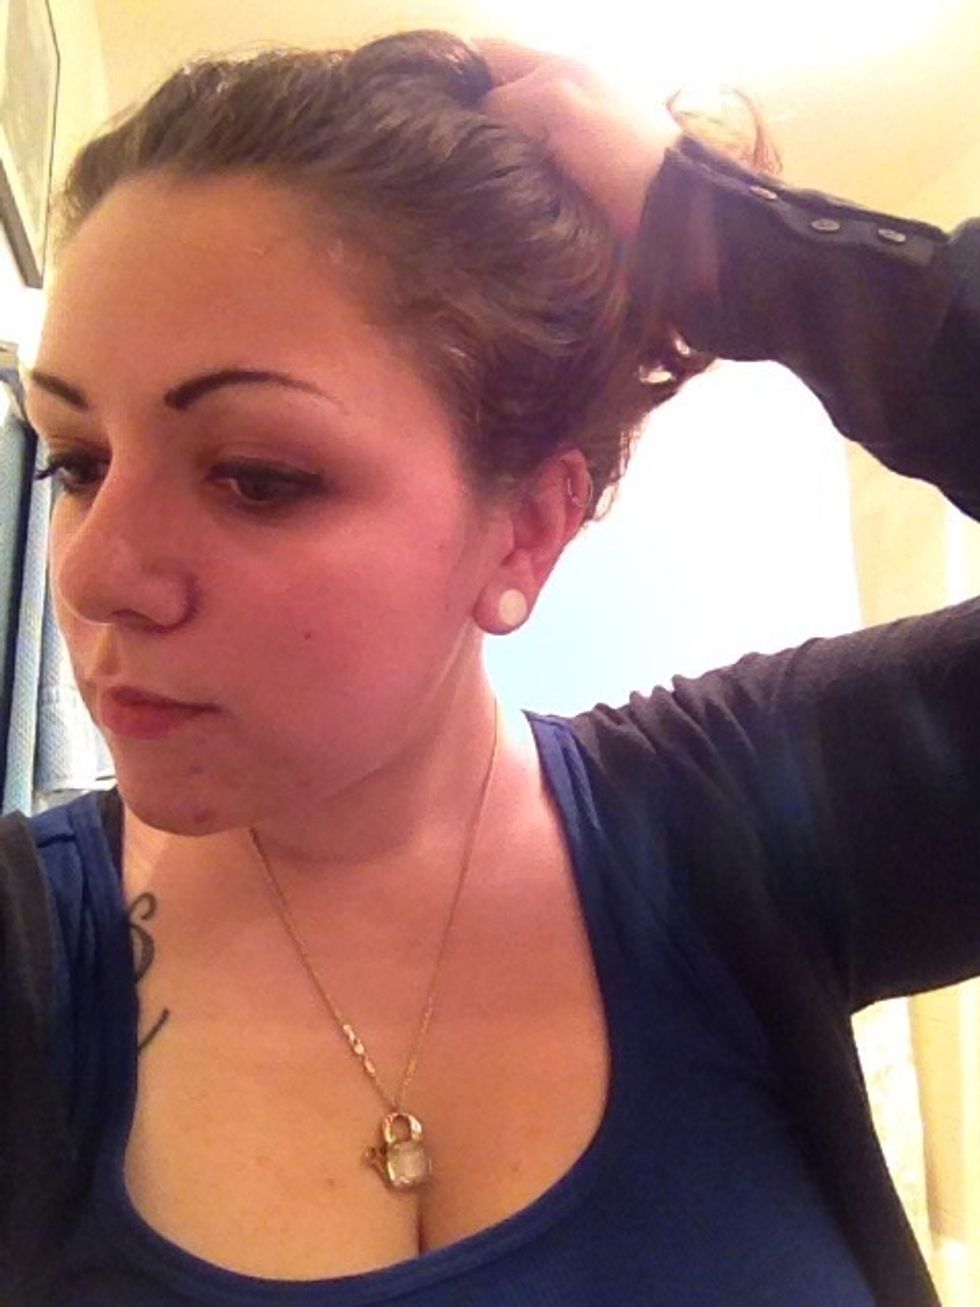
Ok.. Then first, pilus up!! Latex and hair do not mix well together.
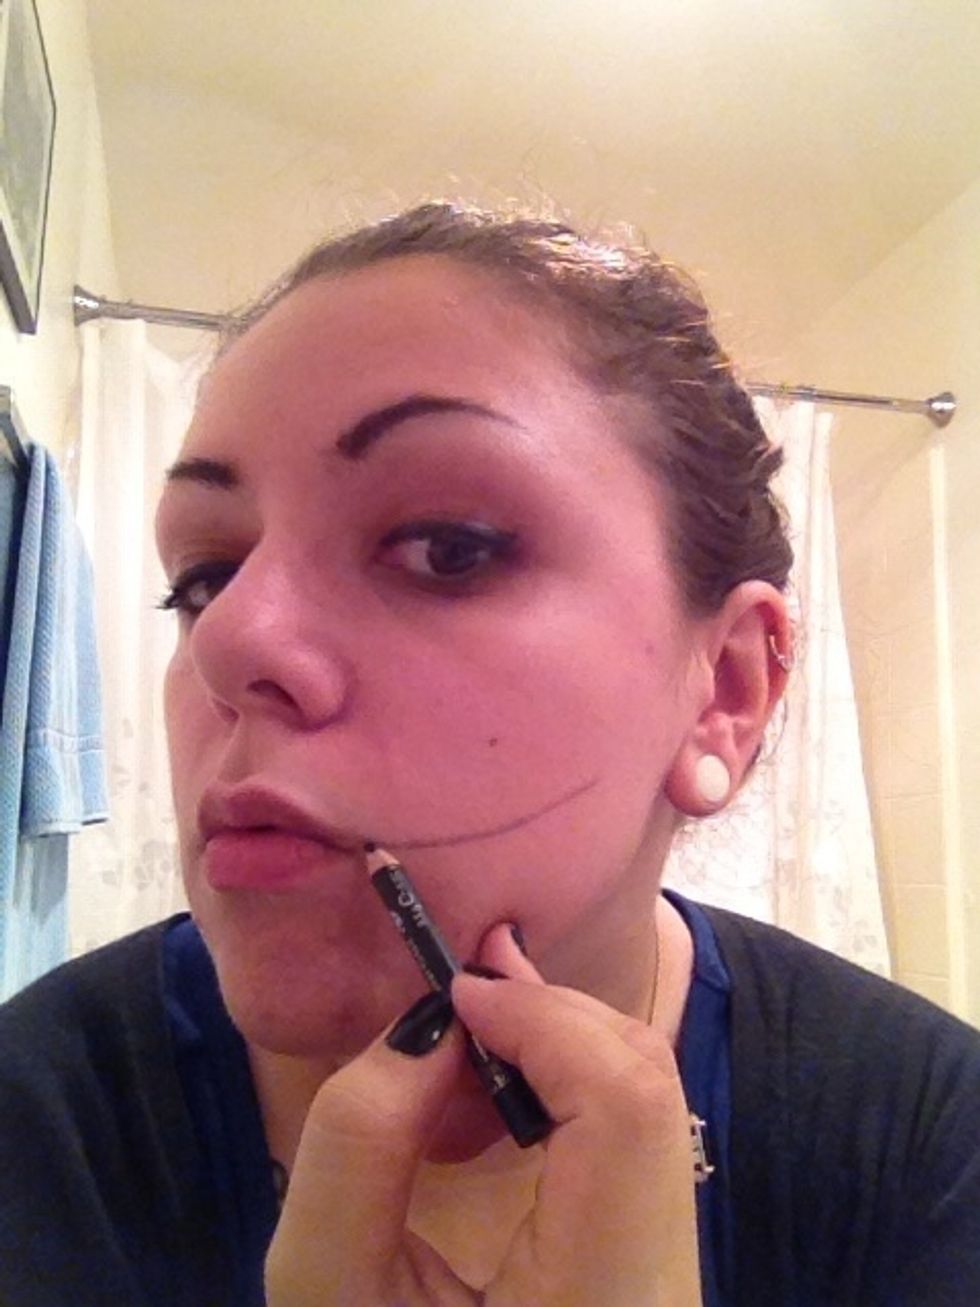
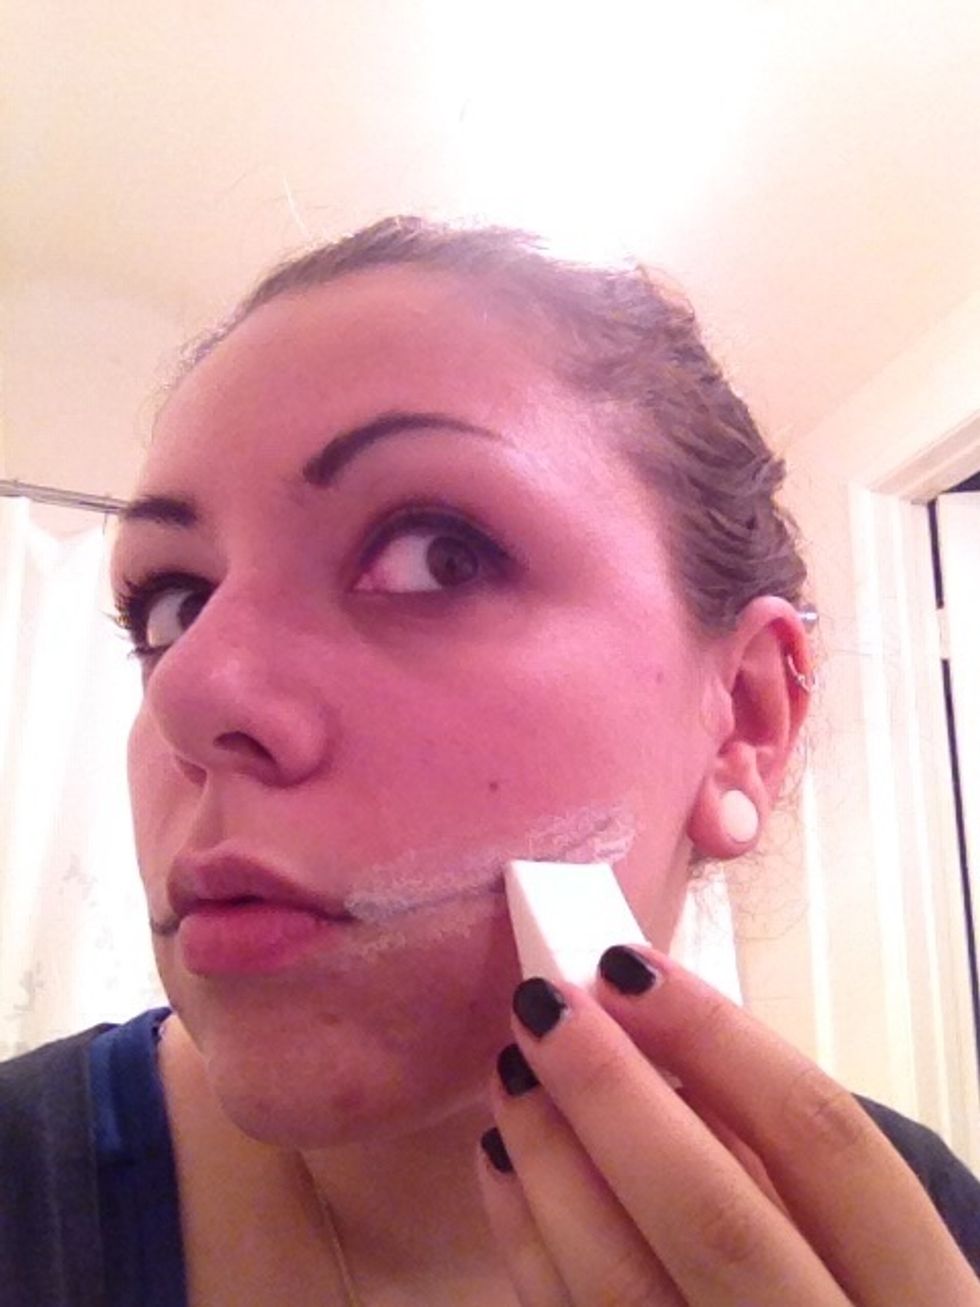
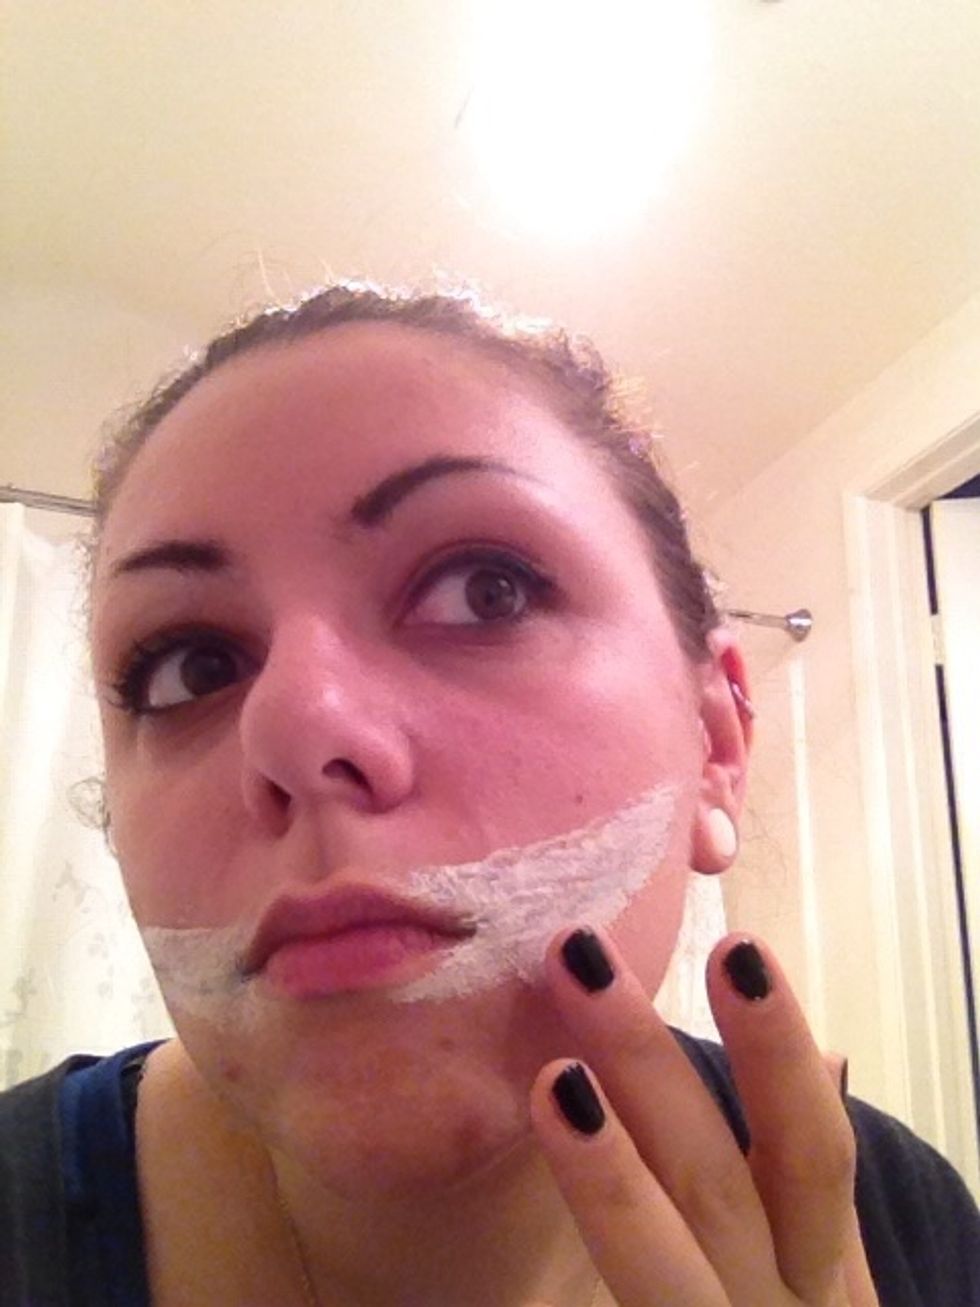
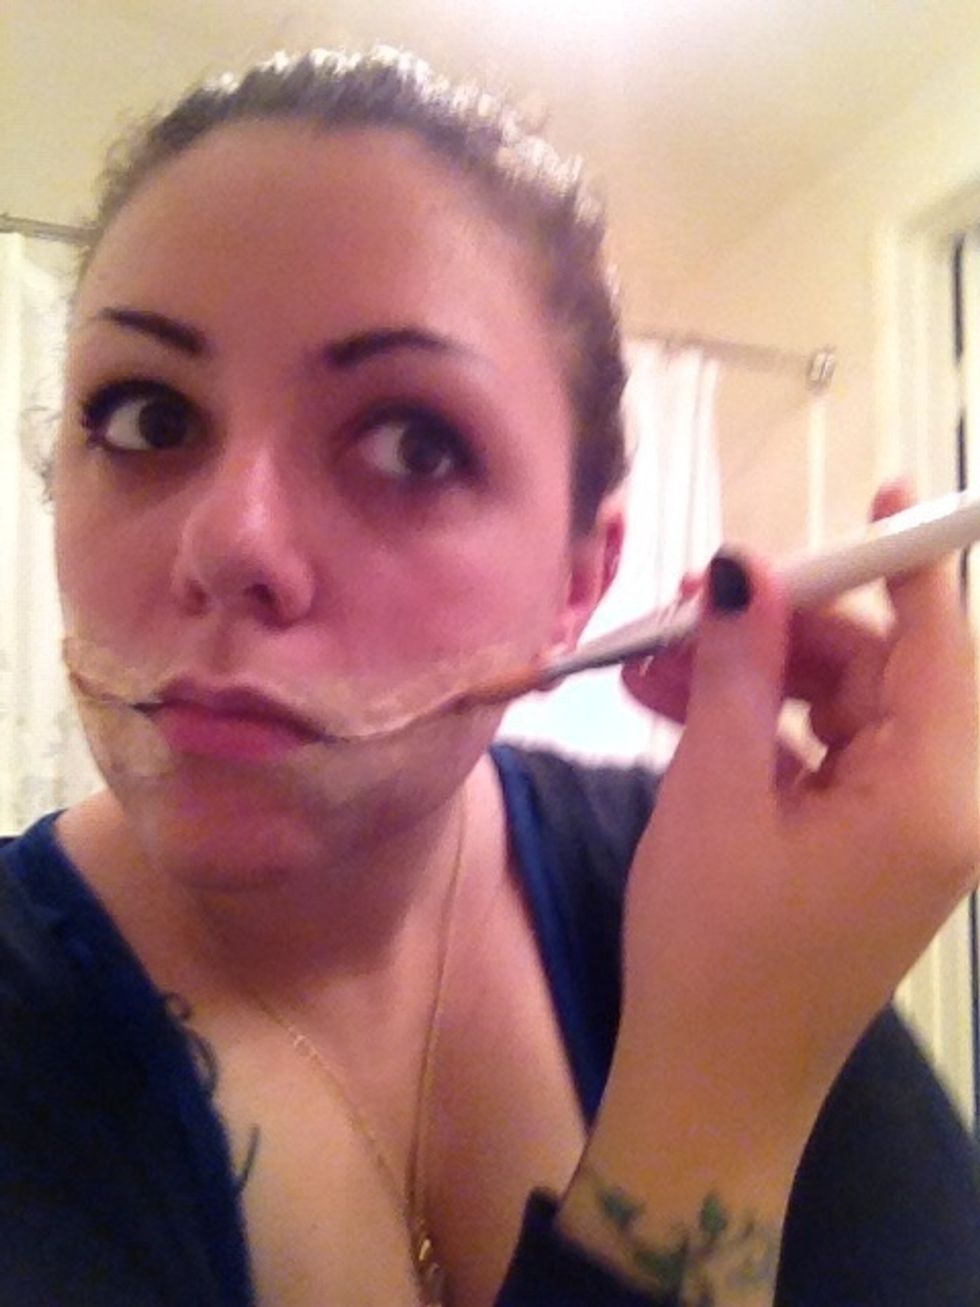
Take whatever eyeliner pencil and stencil where yous want your grin to exist (please alibi the bathroom background😁)
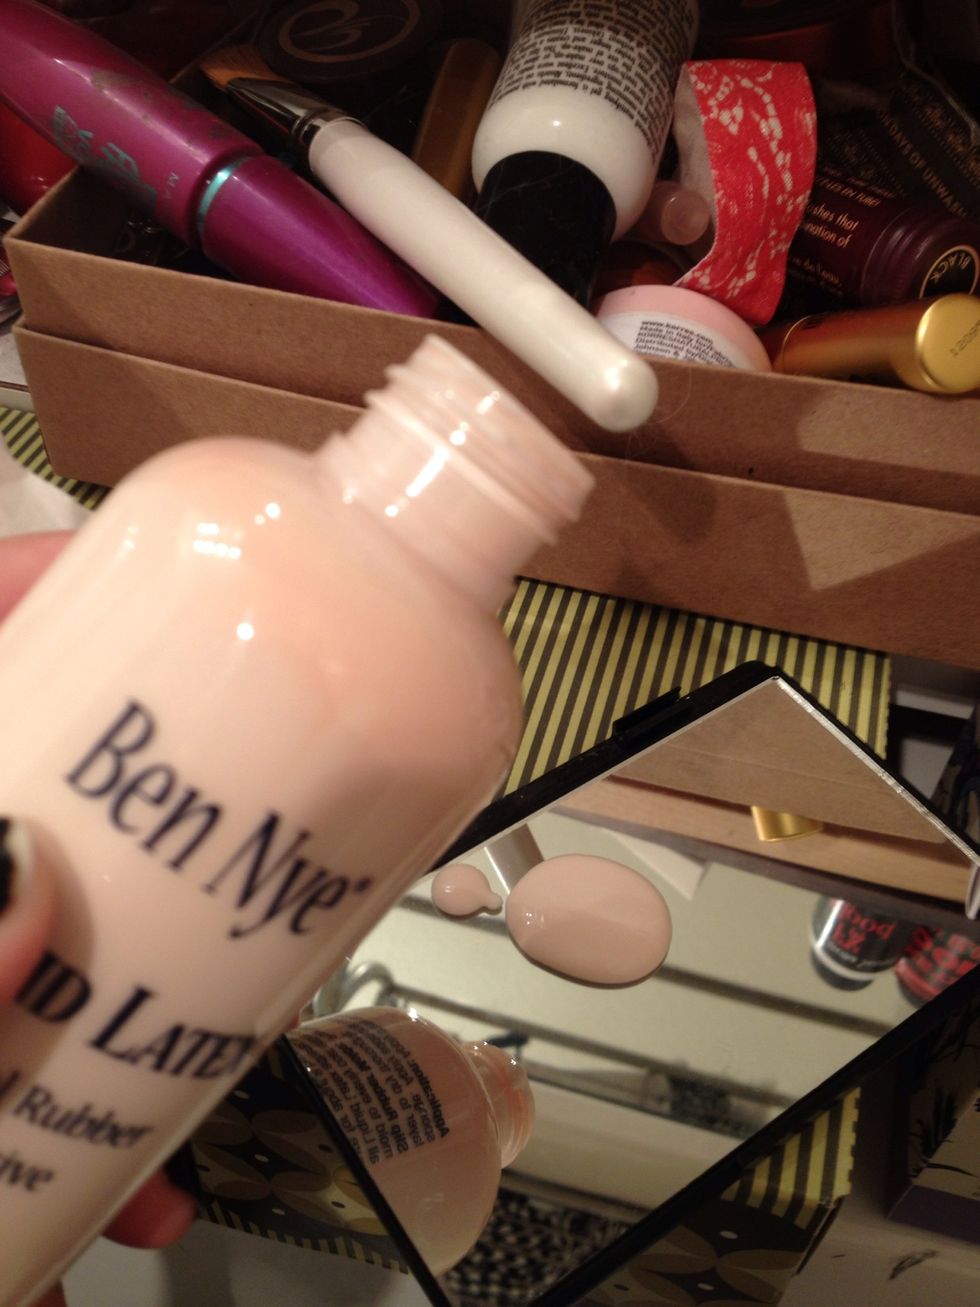
Pour out some latex onto a smooth surface. I used this small mirror.
With a makeup sponge beginning roofing the line with latex

Looks equally such...

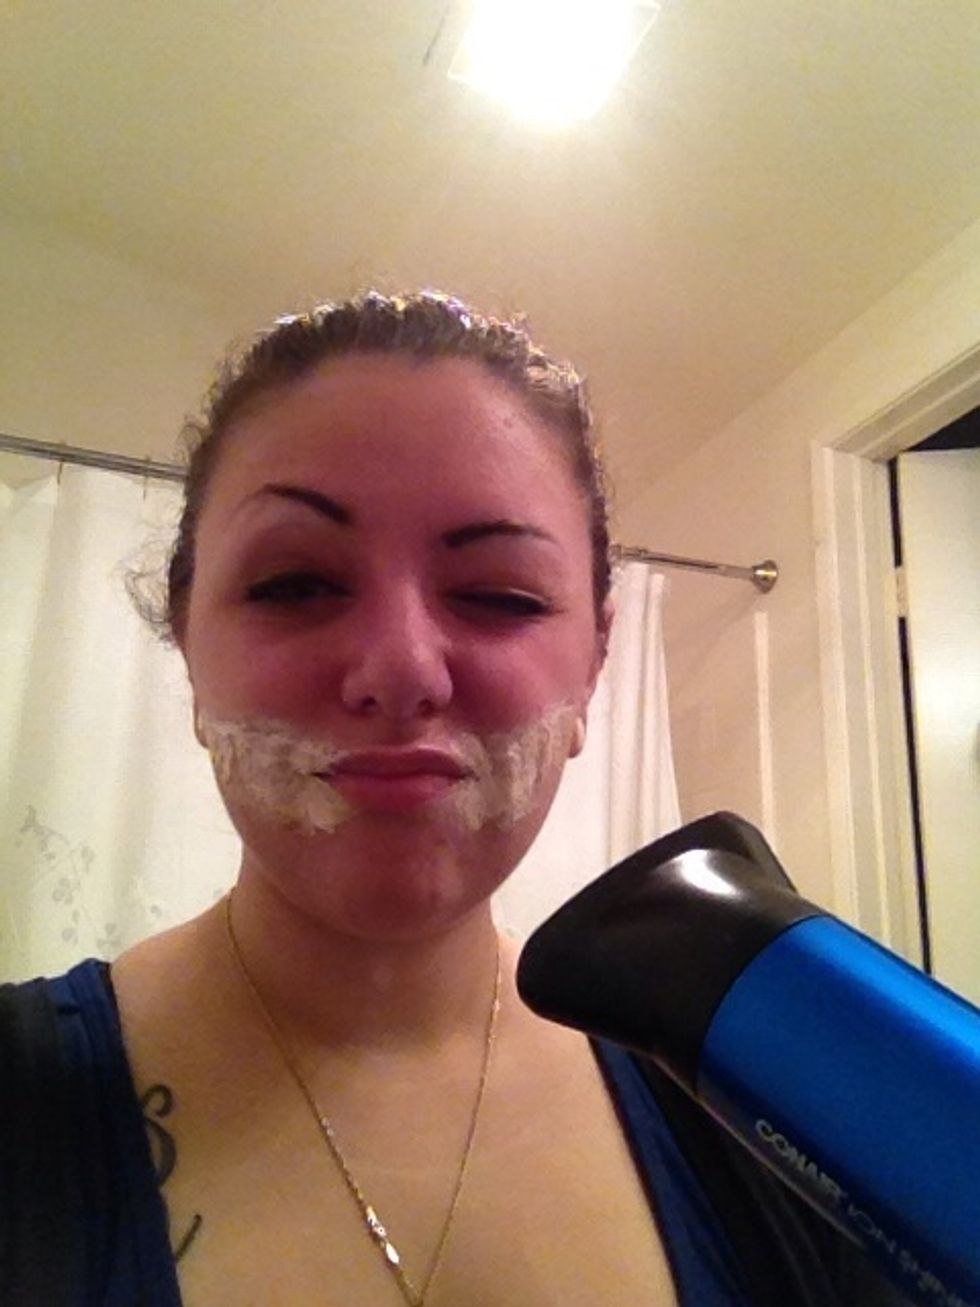
Apply a blow dryer to speed up drying fourth dimension.
Add second layer of latex. I use my fingers to alloy in the edges.

And hot air again 💨💨💨
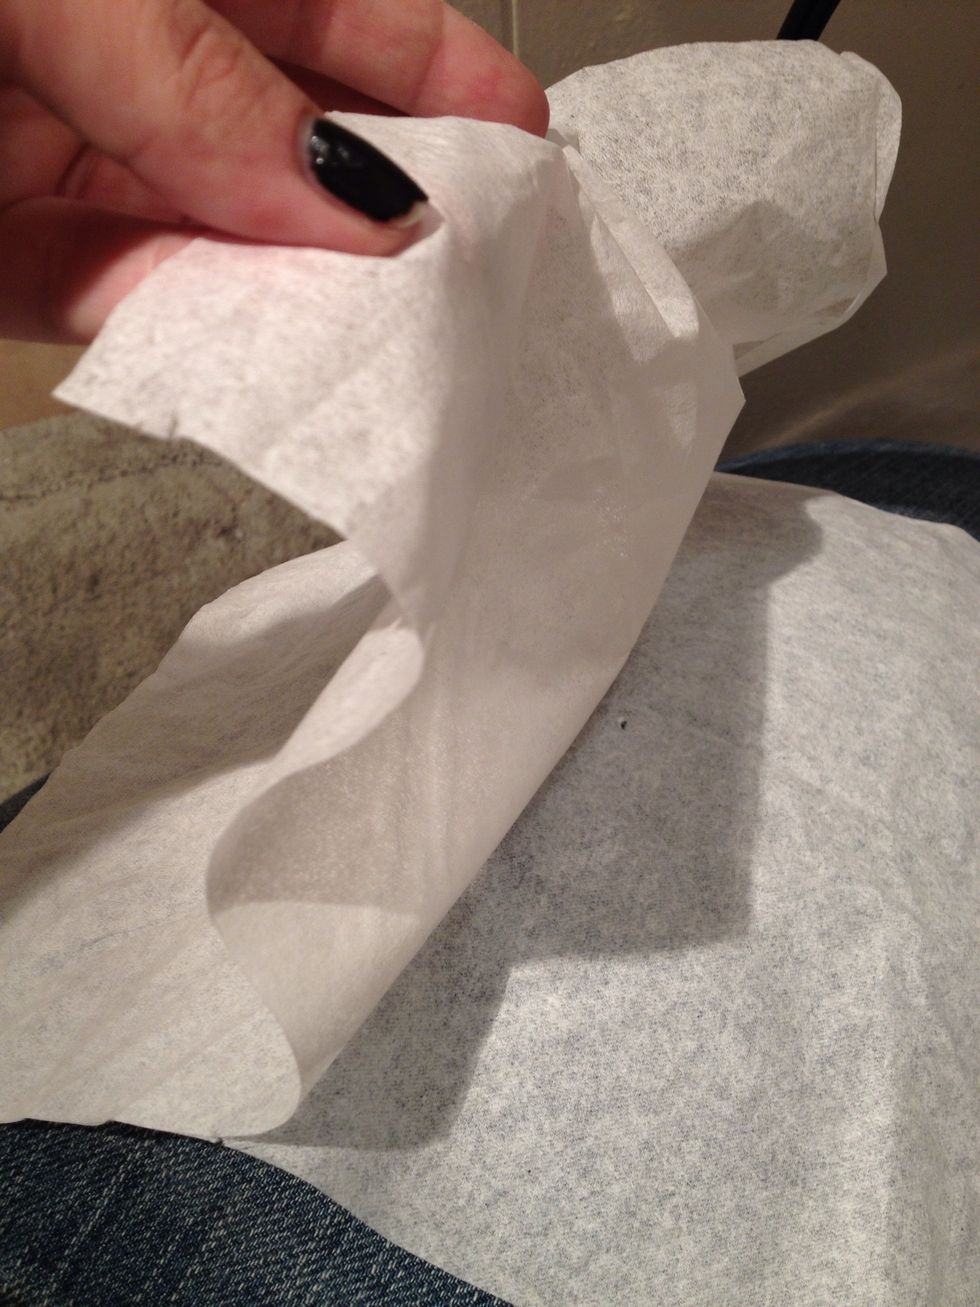
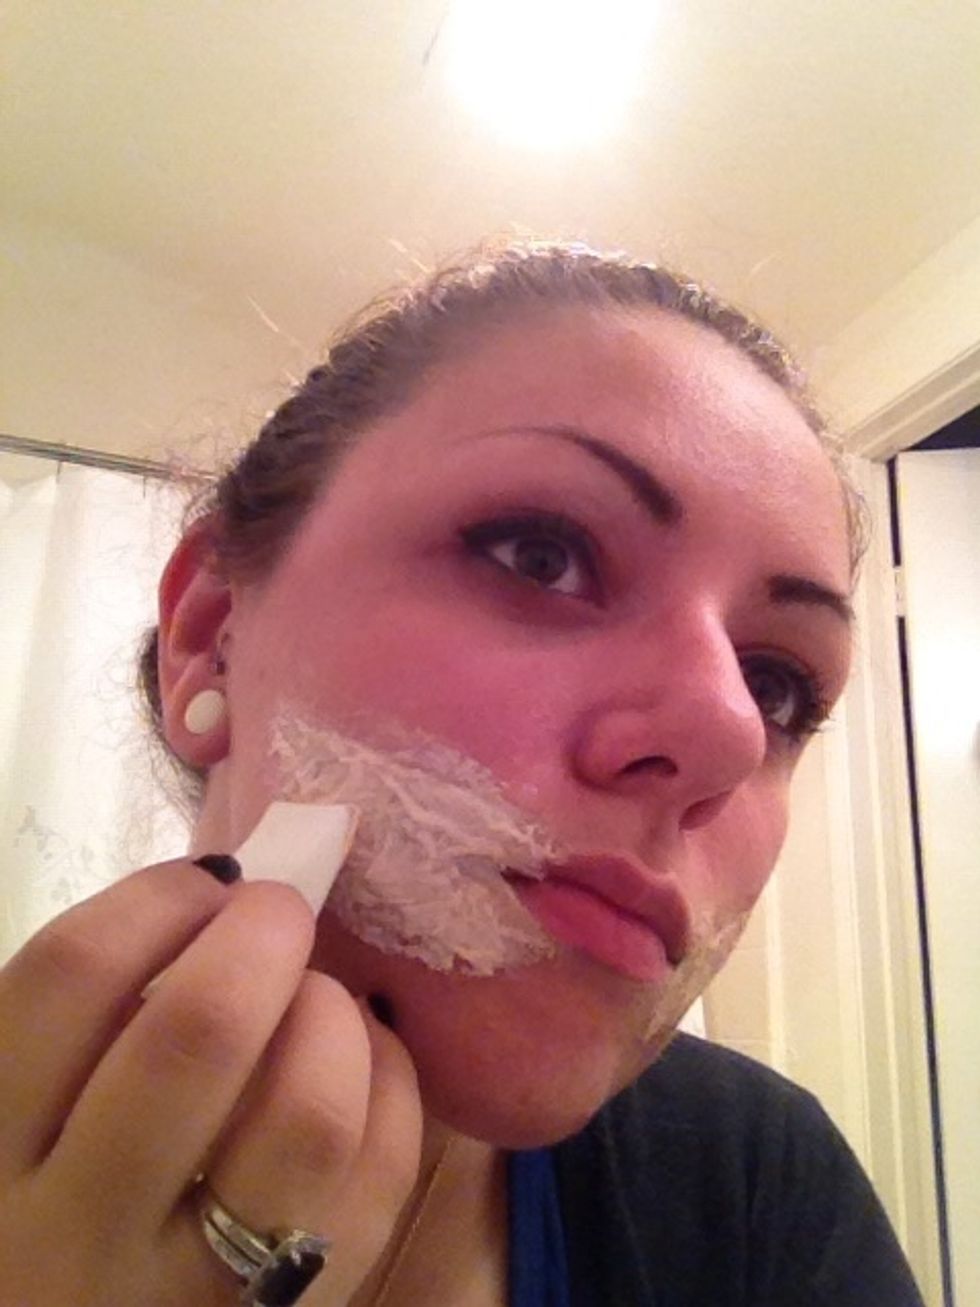
Now take your tissue paper and peel the canvas to create two thinner layers

Tear to fit size of grin..
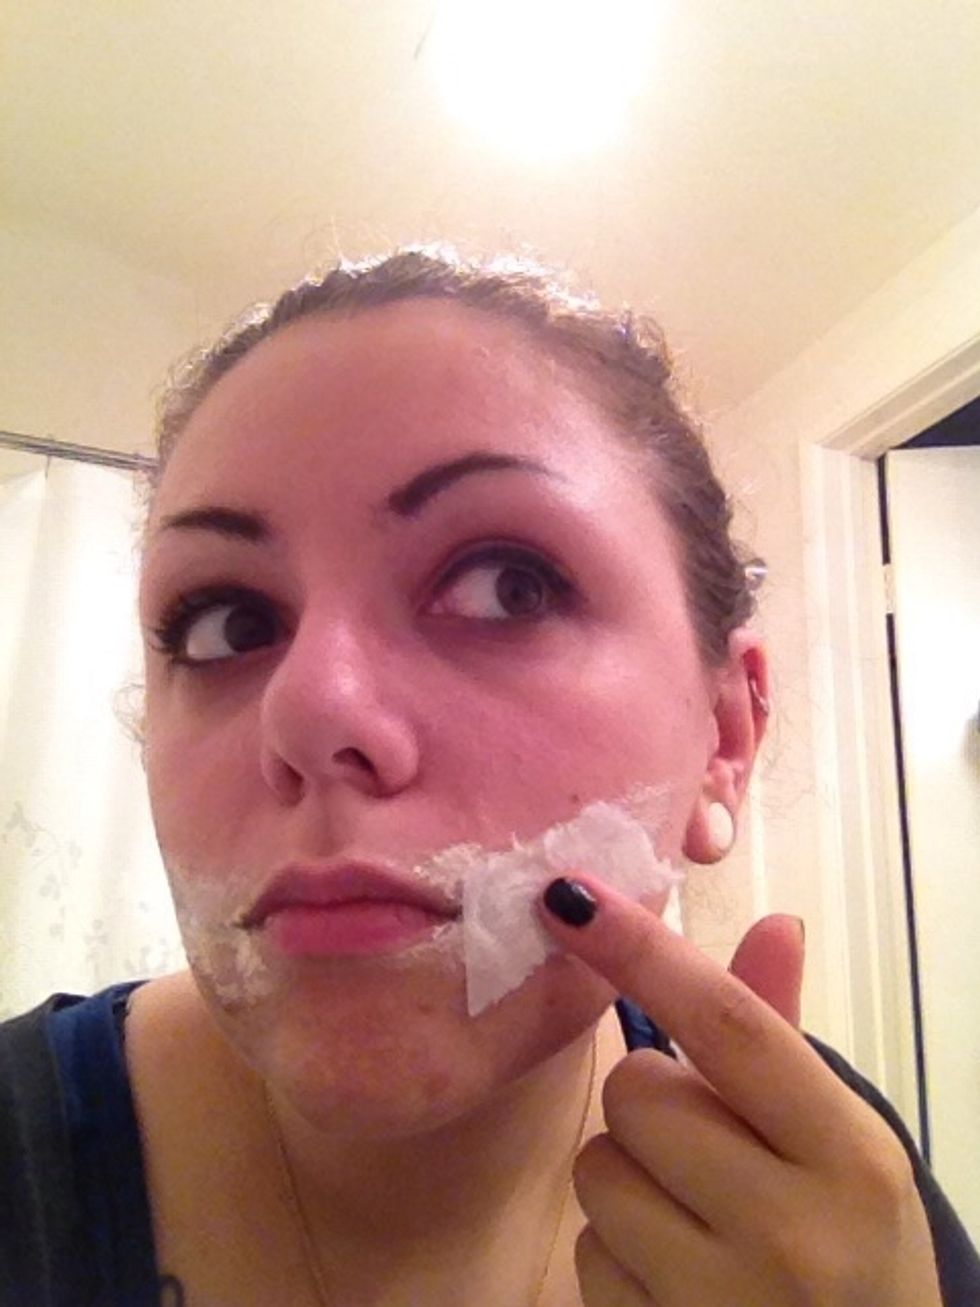
Add together more latex and then place tissue paper on top. You tin tear smaller pieces to fit the corners.
Cute huh?

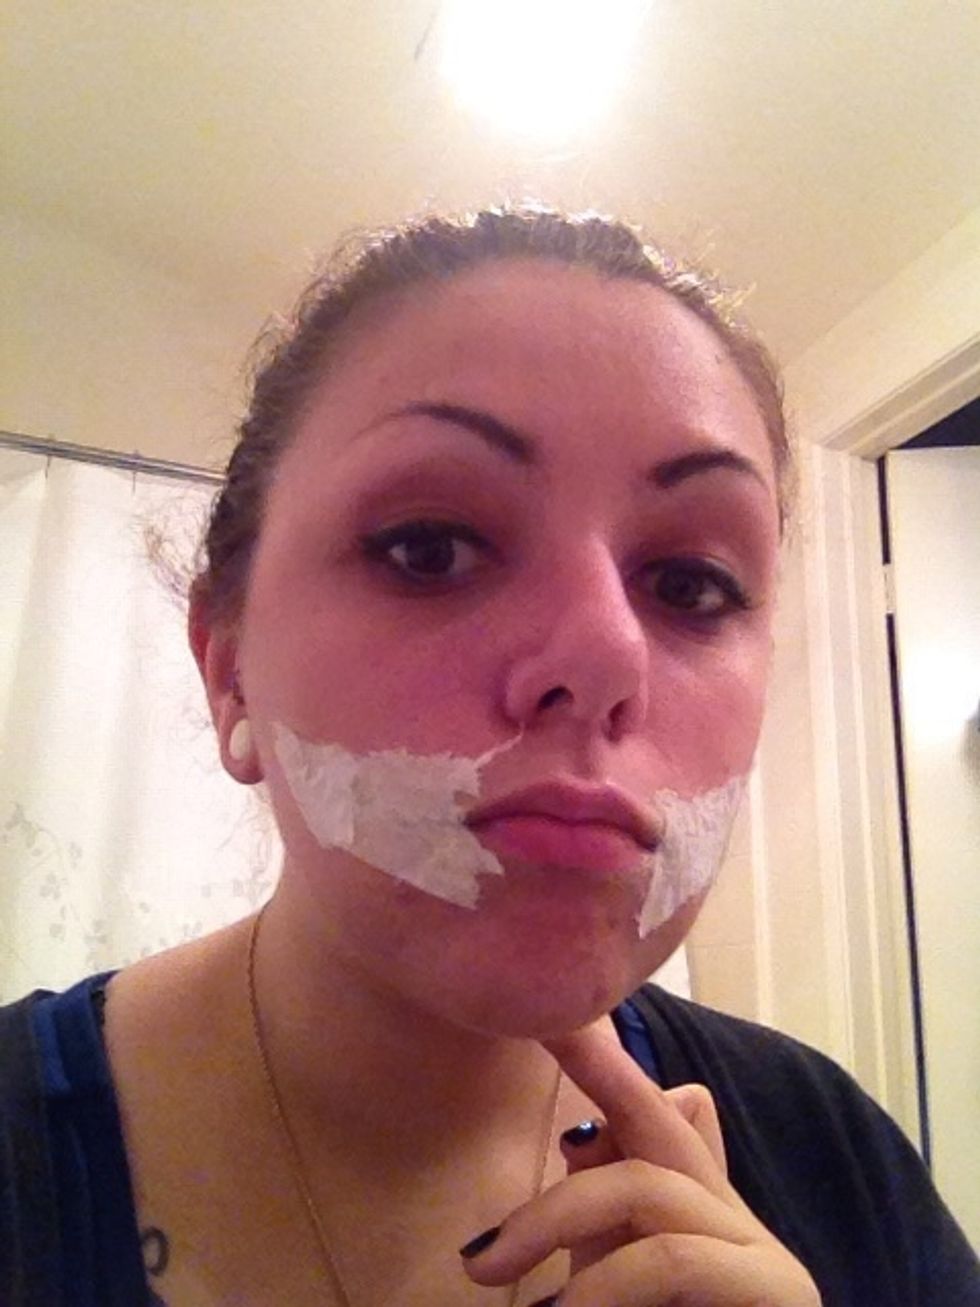
Now add together another layer of latex on elevation of the tissue paper. Don't worry if it clumps up a flake.
Go outward from the tissue paper with the latex to blend with the rest of your face.
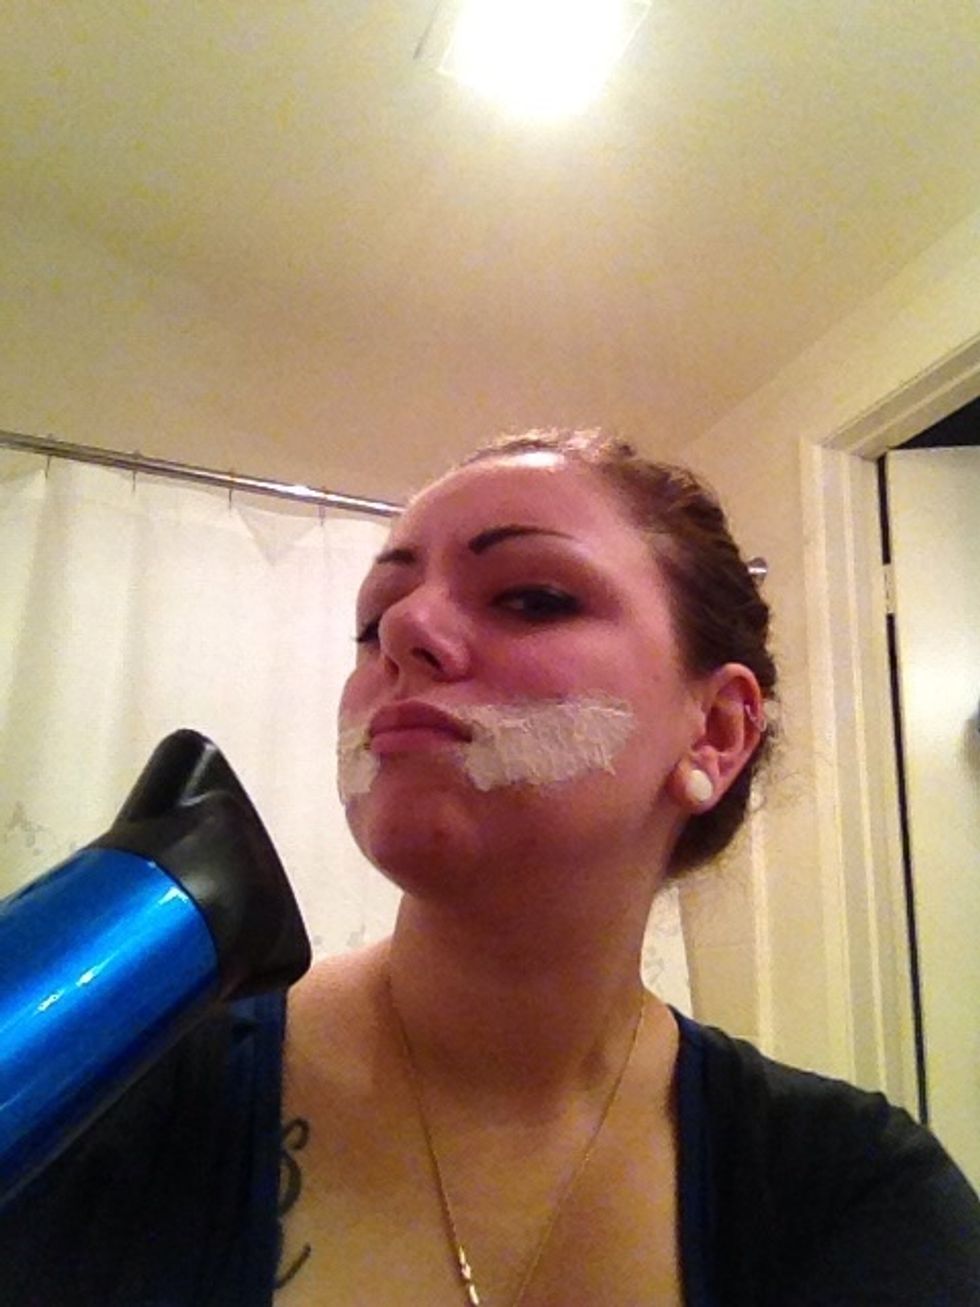
And mooore hot air...
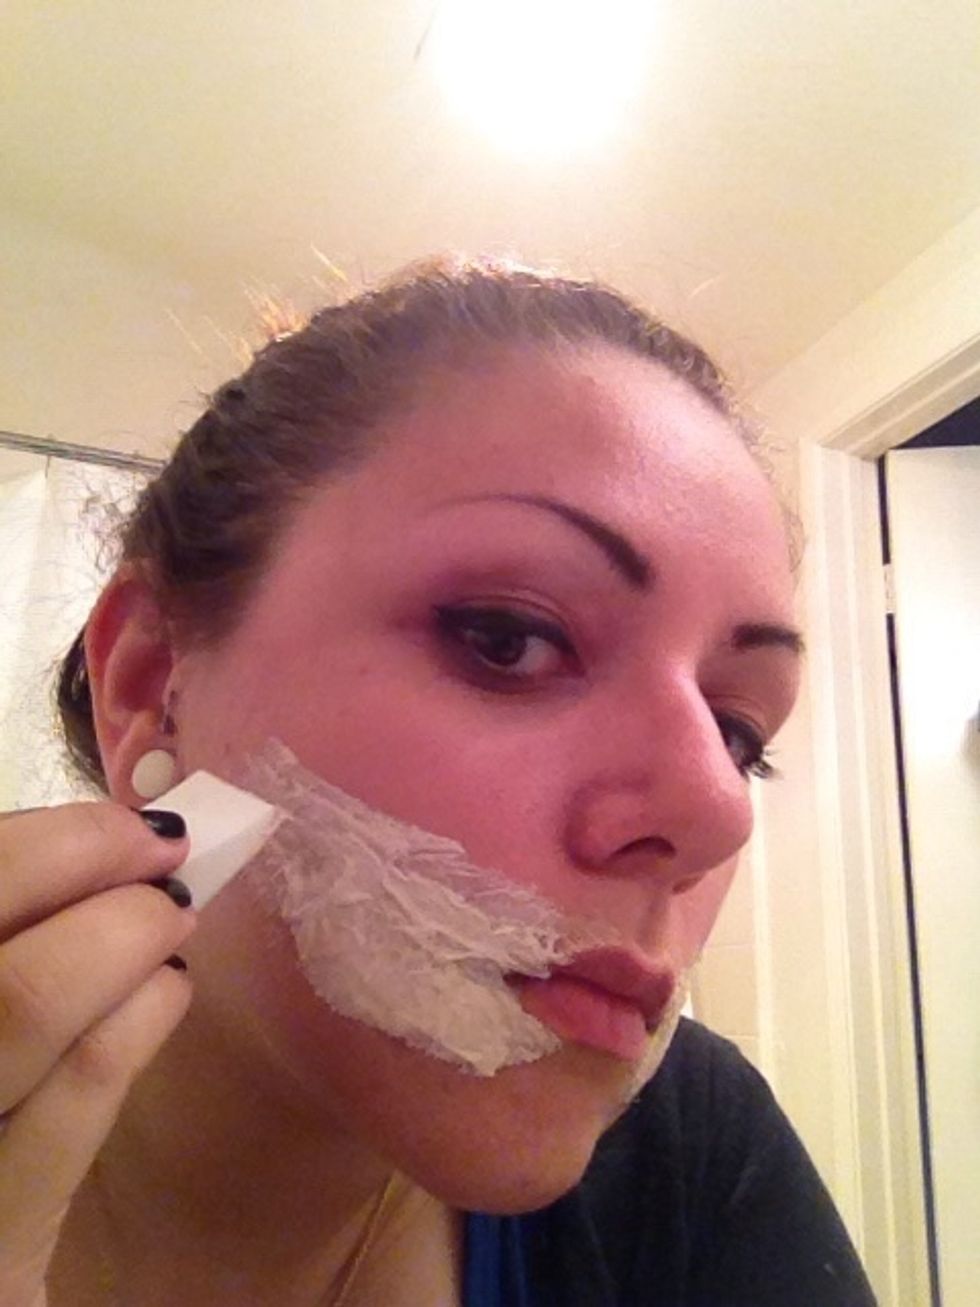
And one more layer of latex. I check to brand sure everything is even and blended the best it tin be.
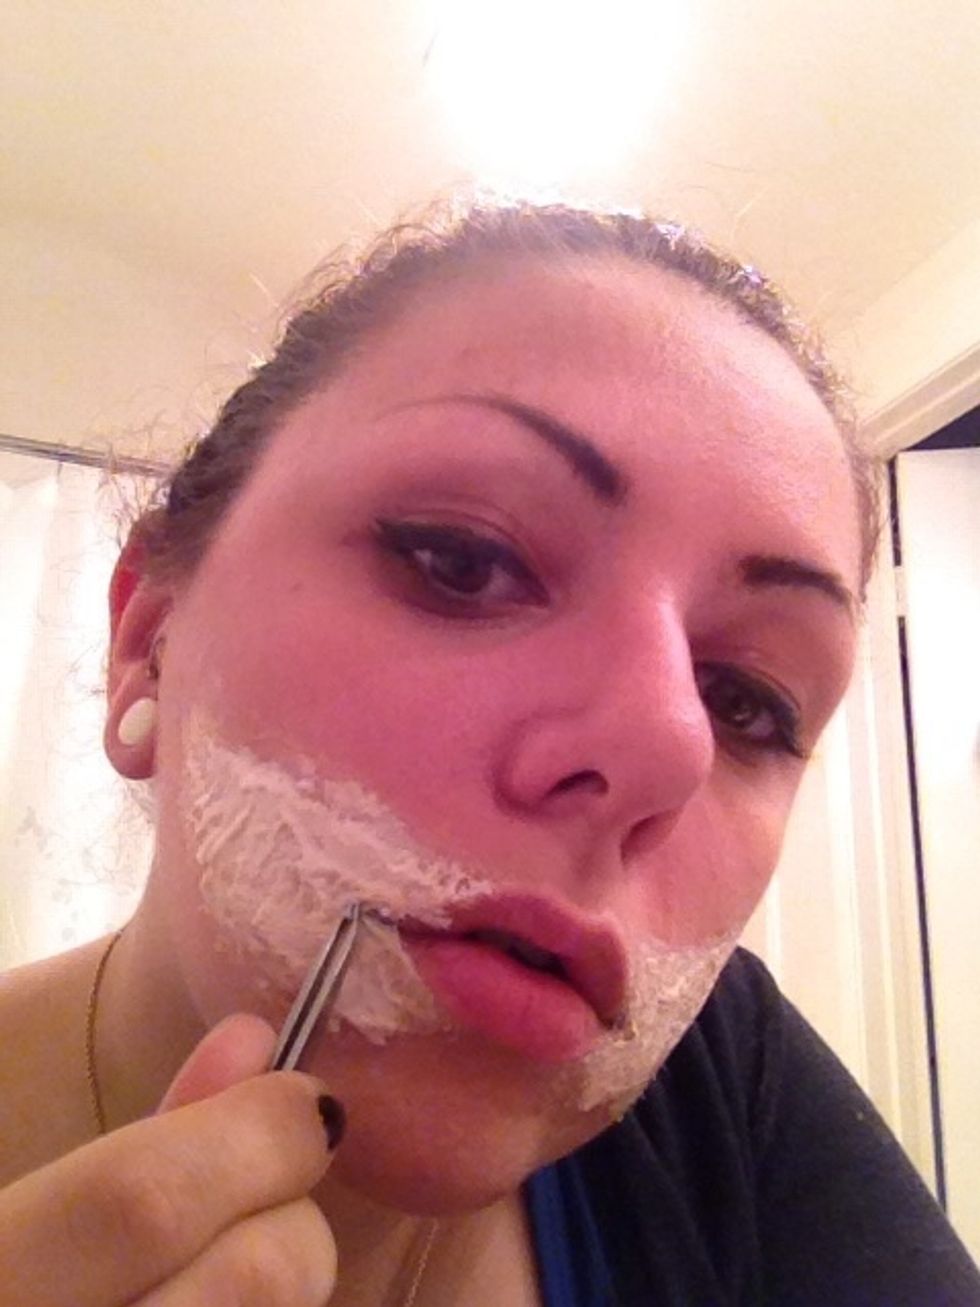
Now with tweezers or your finger nail, offset lifting the border of the latex by your oral fissure. This will arrive easier to cut later...
I did ane more than layer of latex cuz I am a perfectionist.
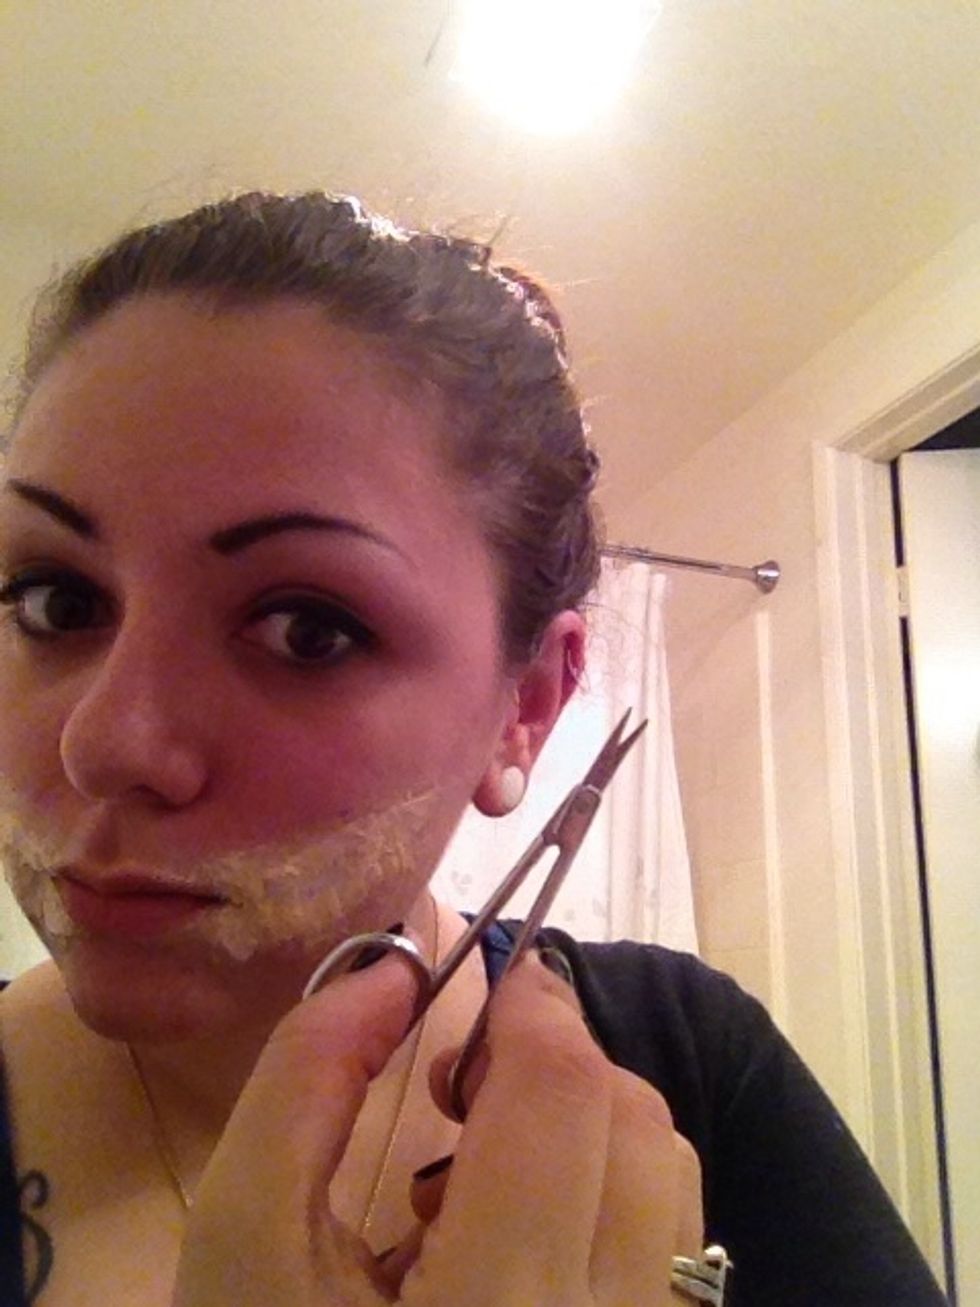
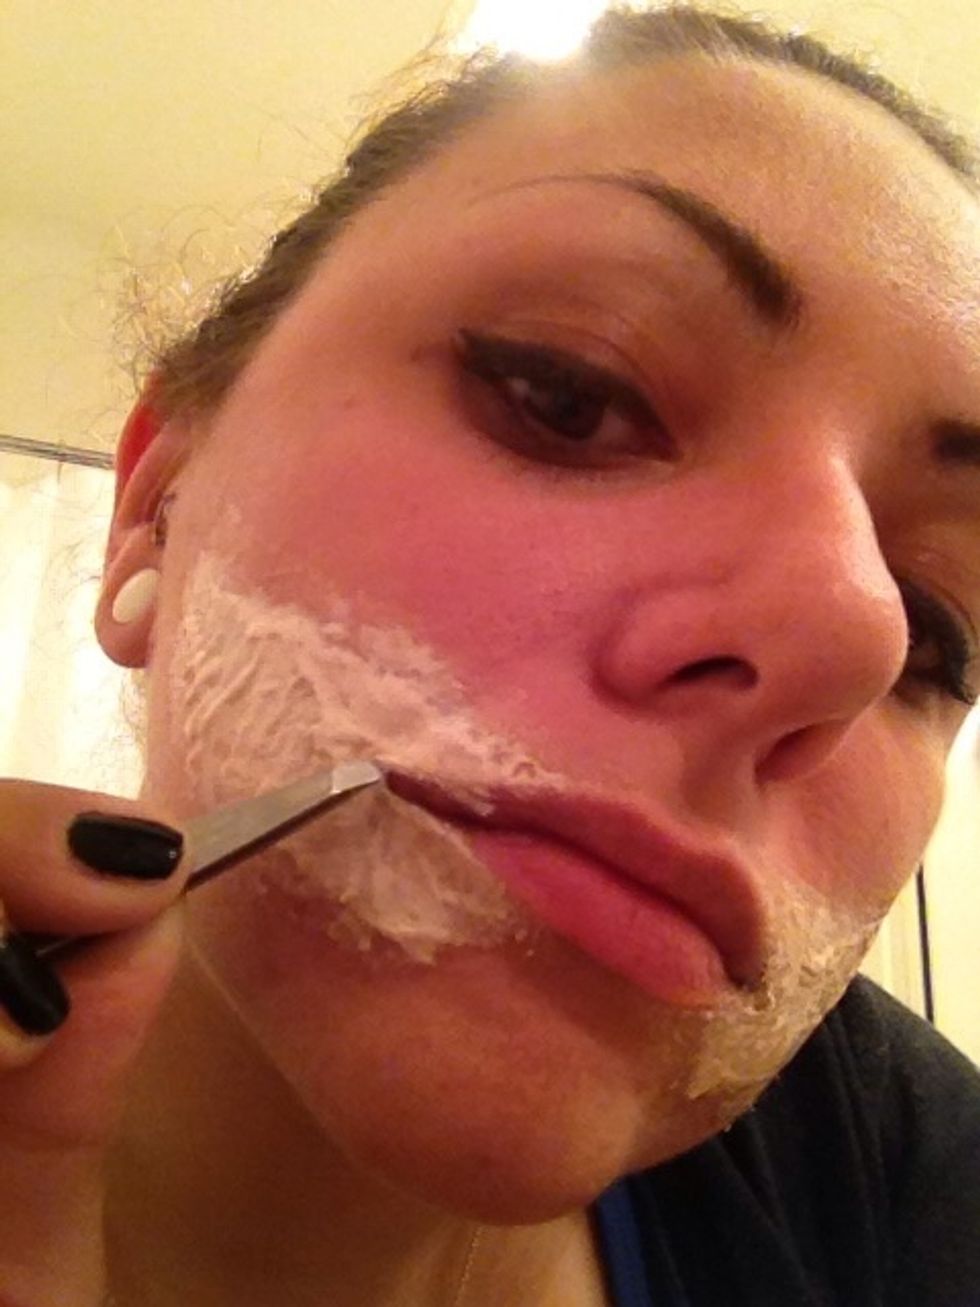
*BE CAREFUL* One time the latex is completely dry, take minor scissor and get-go to cut your smile out
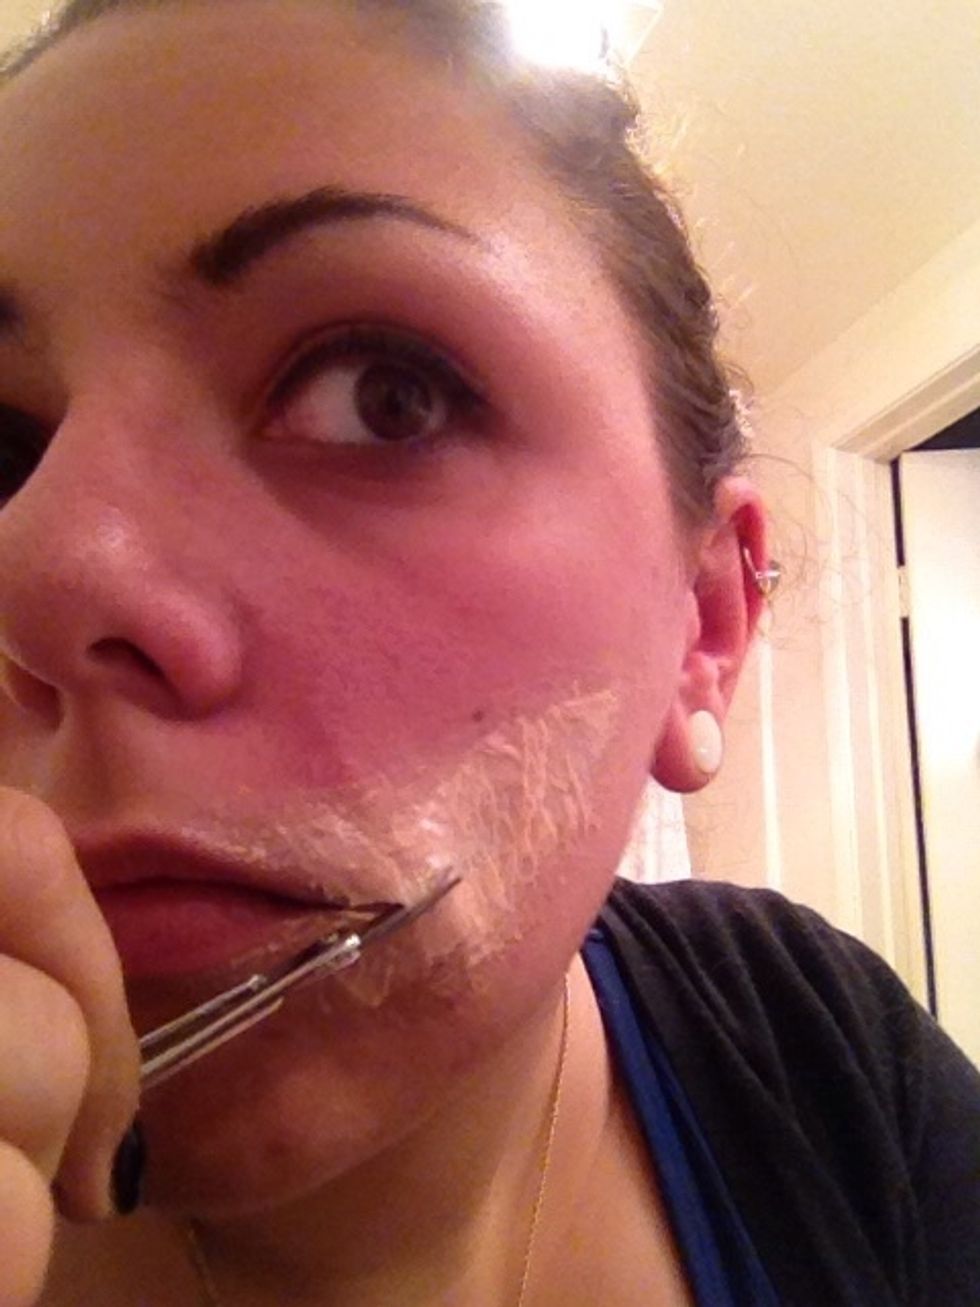
Have your time with this part. I lift the scissors away from my face when I cut ✂
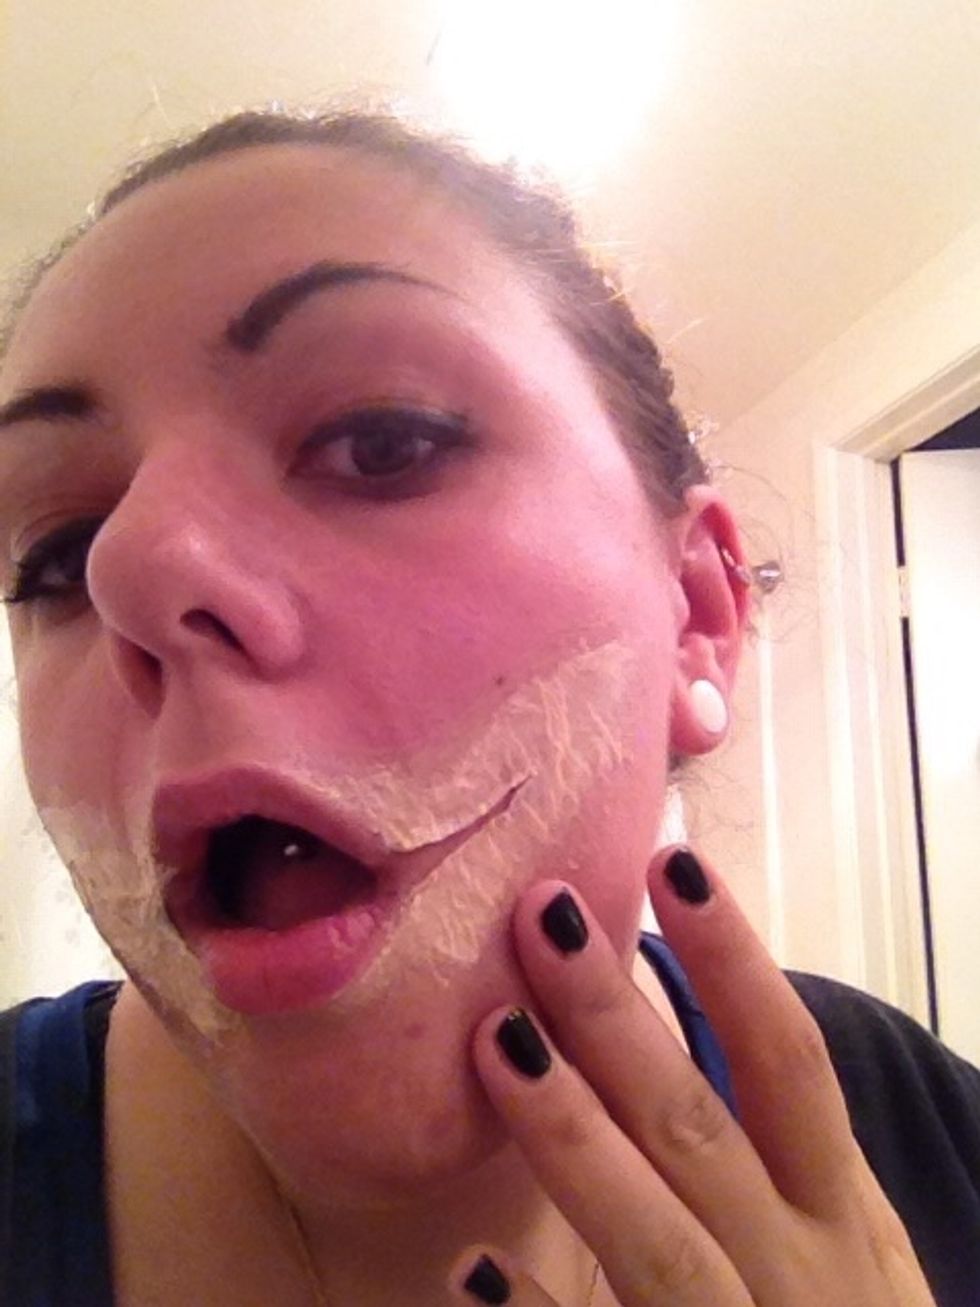
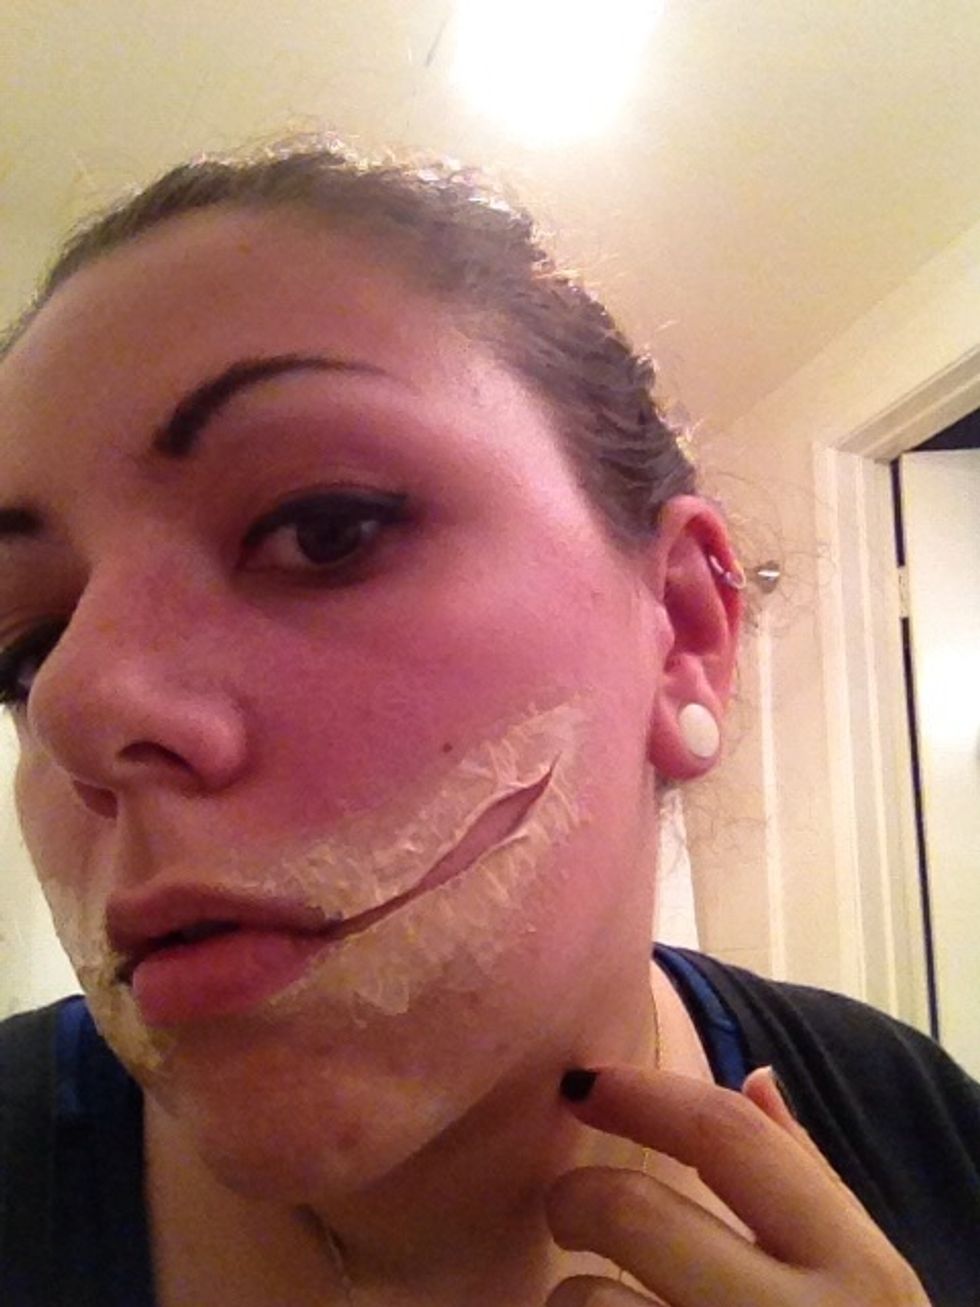
You lot can cutting whatsoever length you want. Peel away the opening to create more depth.
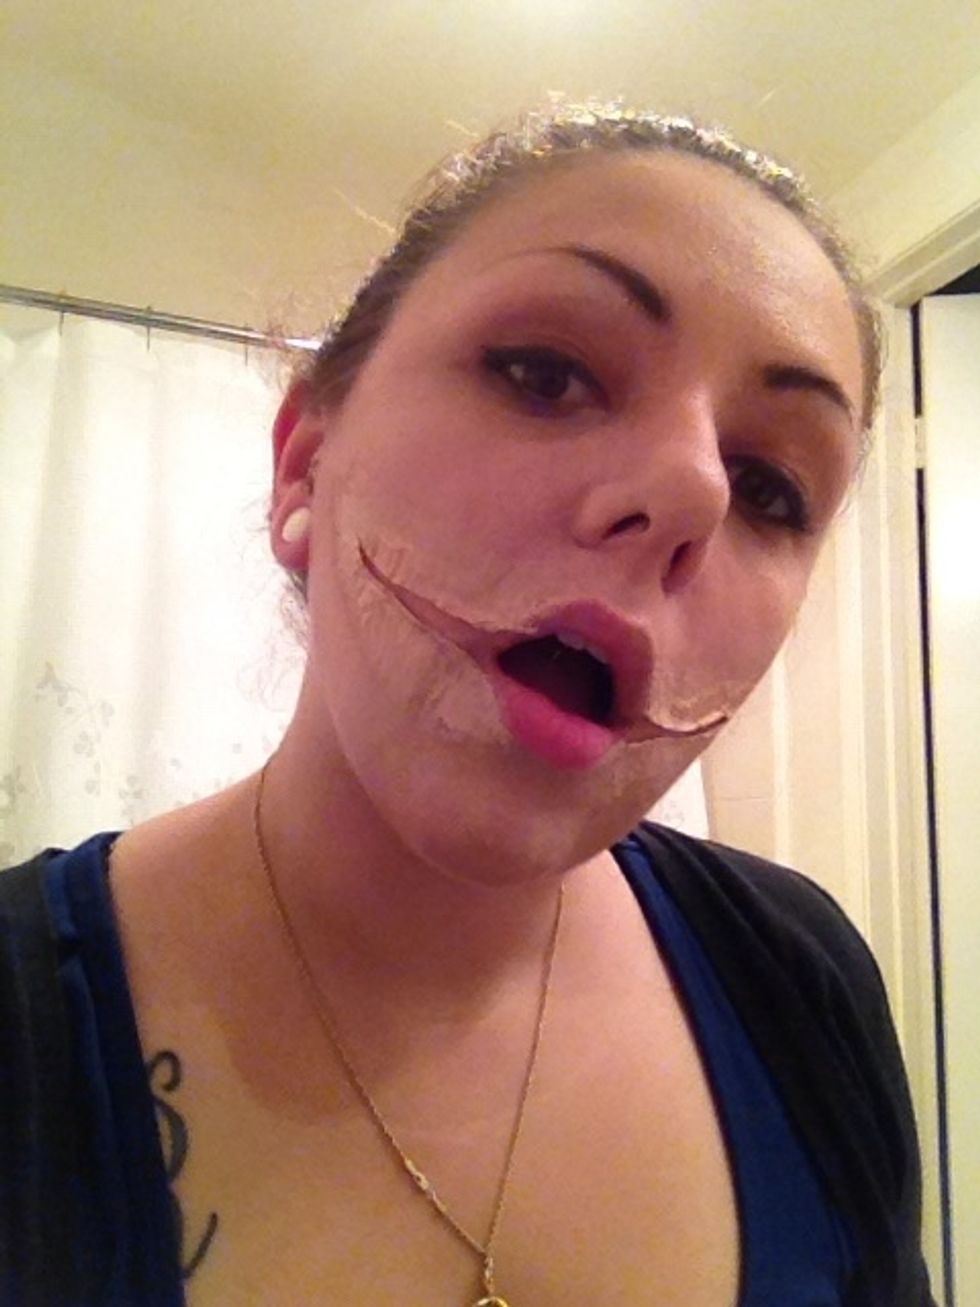
Have your face powder...

And encompass the entire latex slice. This prevents the latex from being glutinous and makes it easier to work with.
As well become inside the latex flaps of the smiling
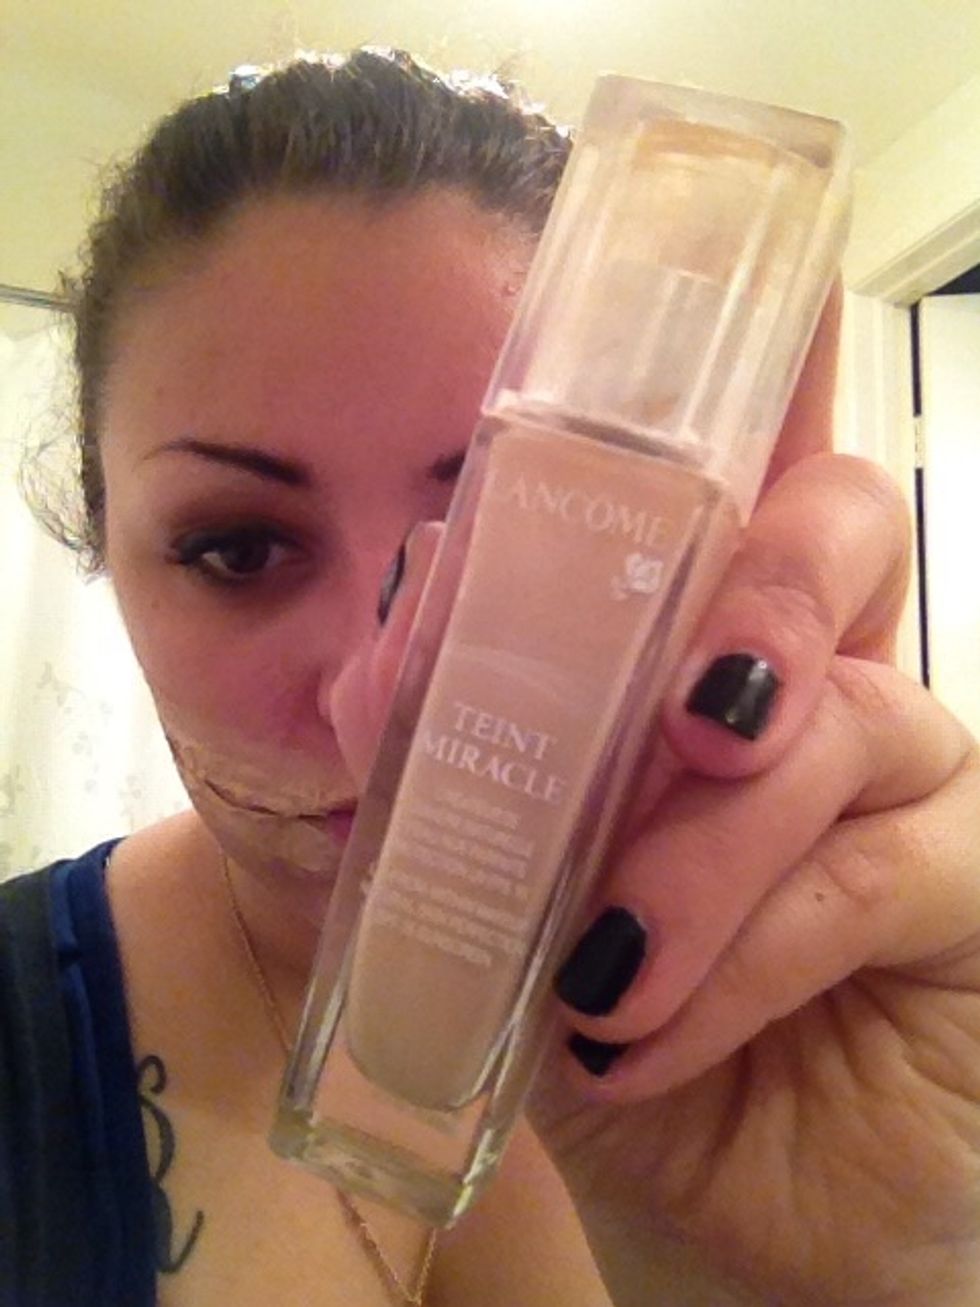
Now the foundation. Attempt to utilize a foam base rather than aqua base. It sticks better to the latex
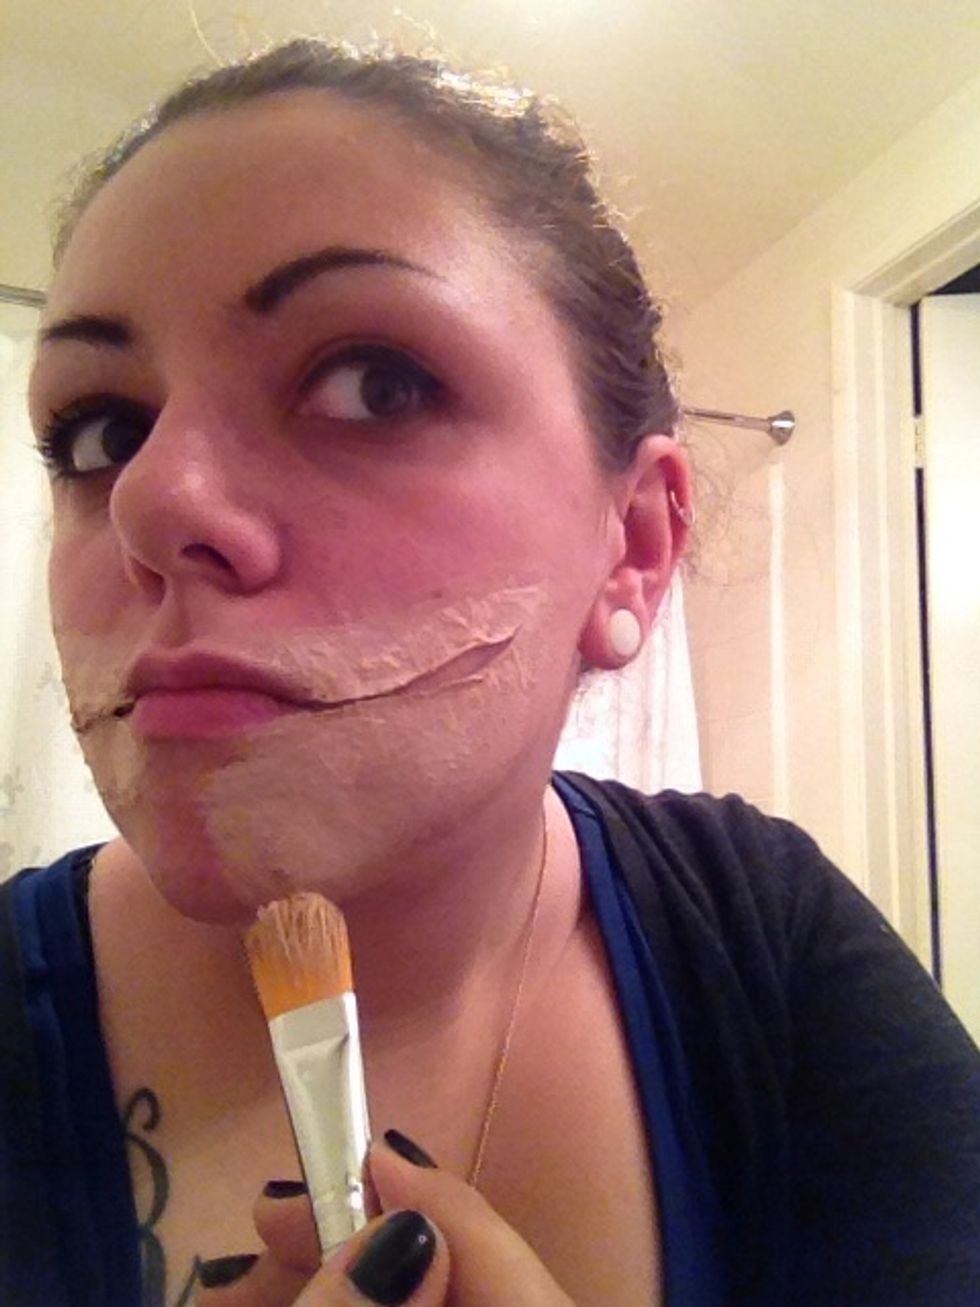
And blend...
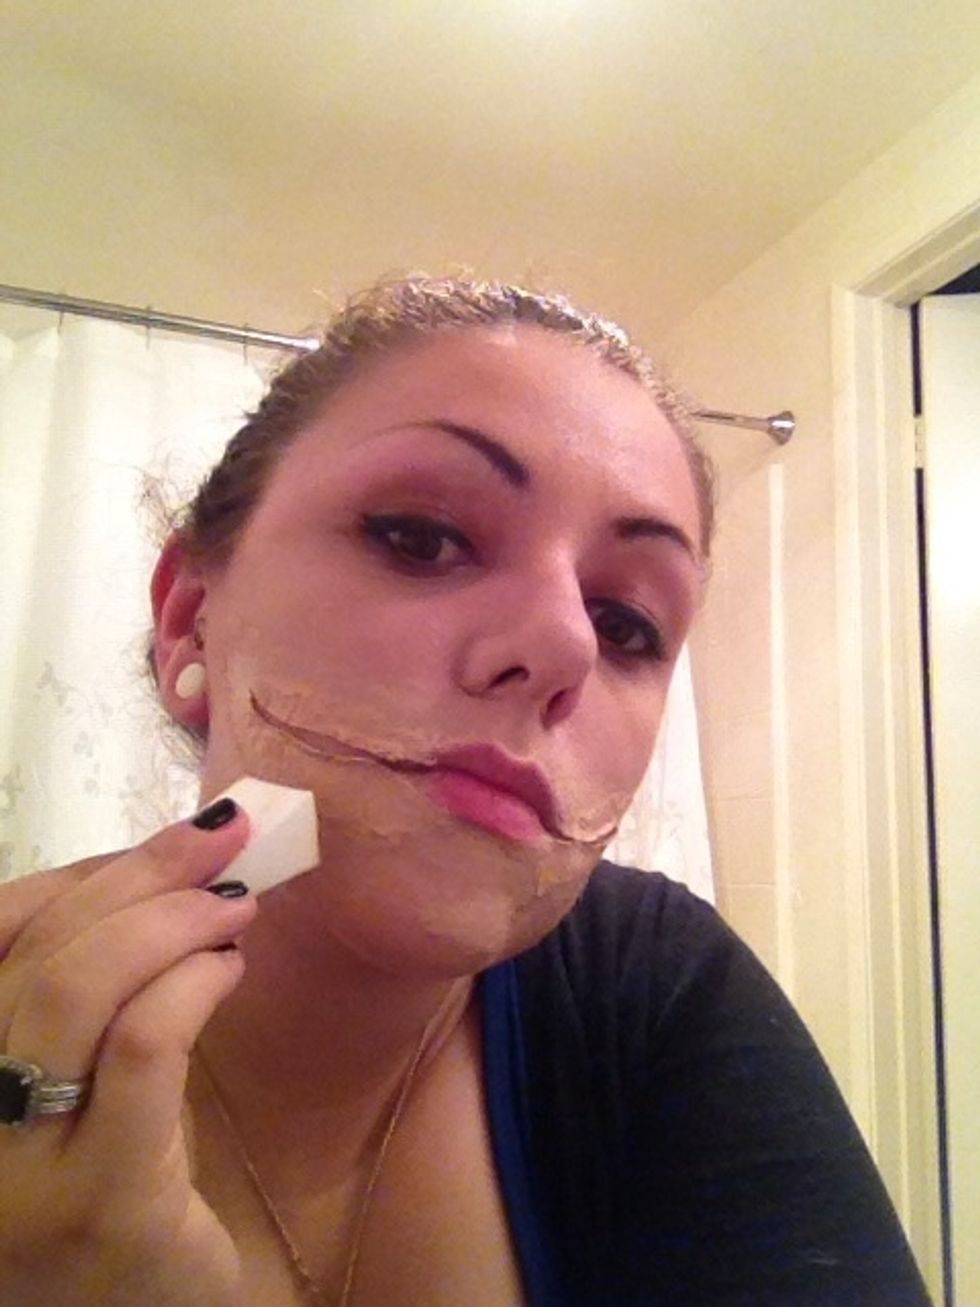
You can use a clean sponge brush to blend the makeup to the latex.
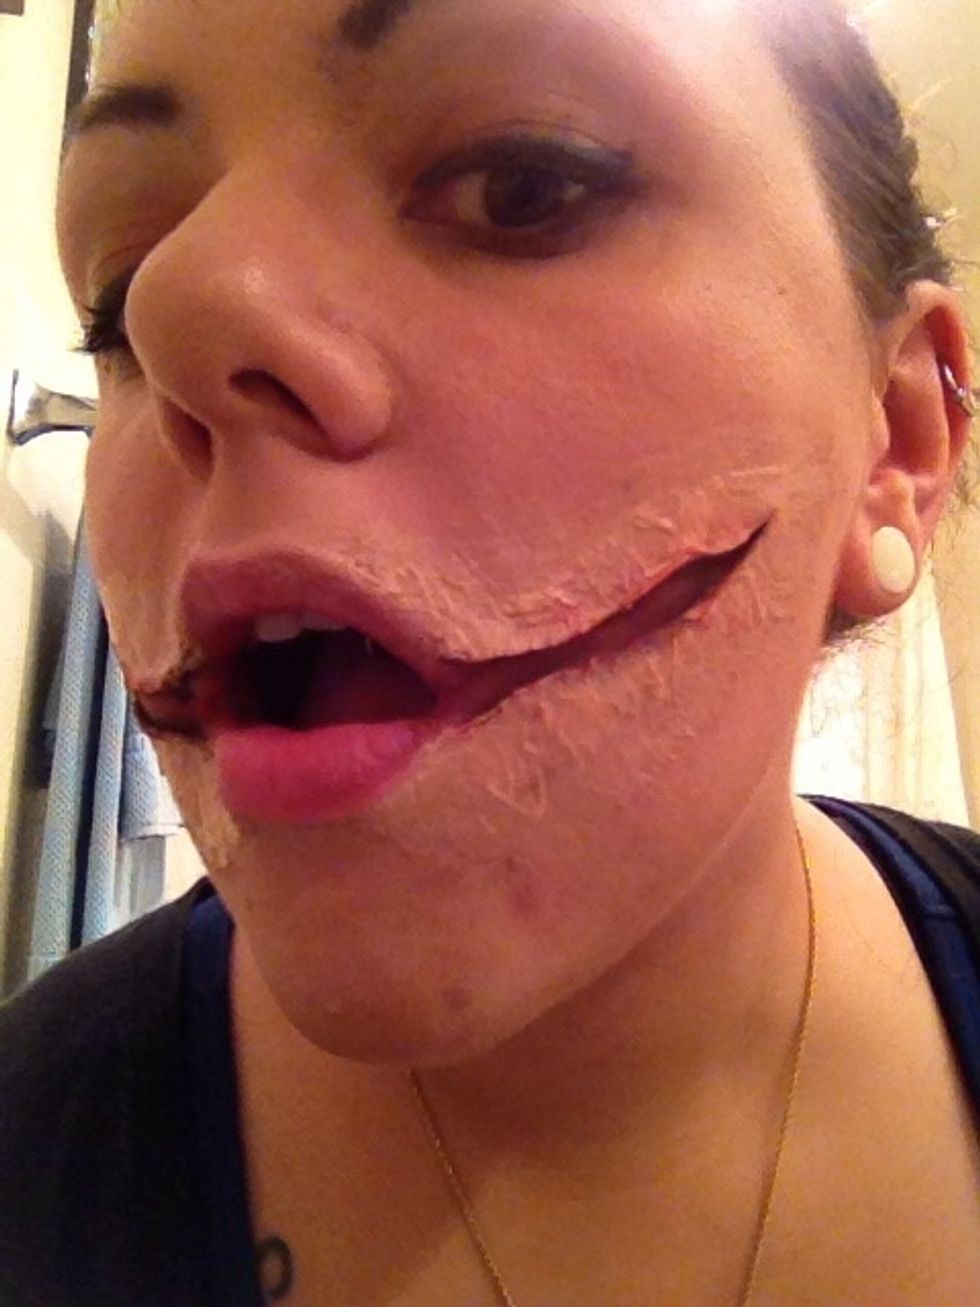
So here is the finished latex event. At present fourth dimension for the fun part...
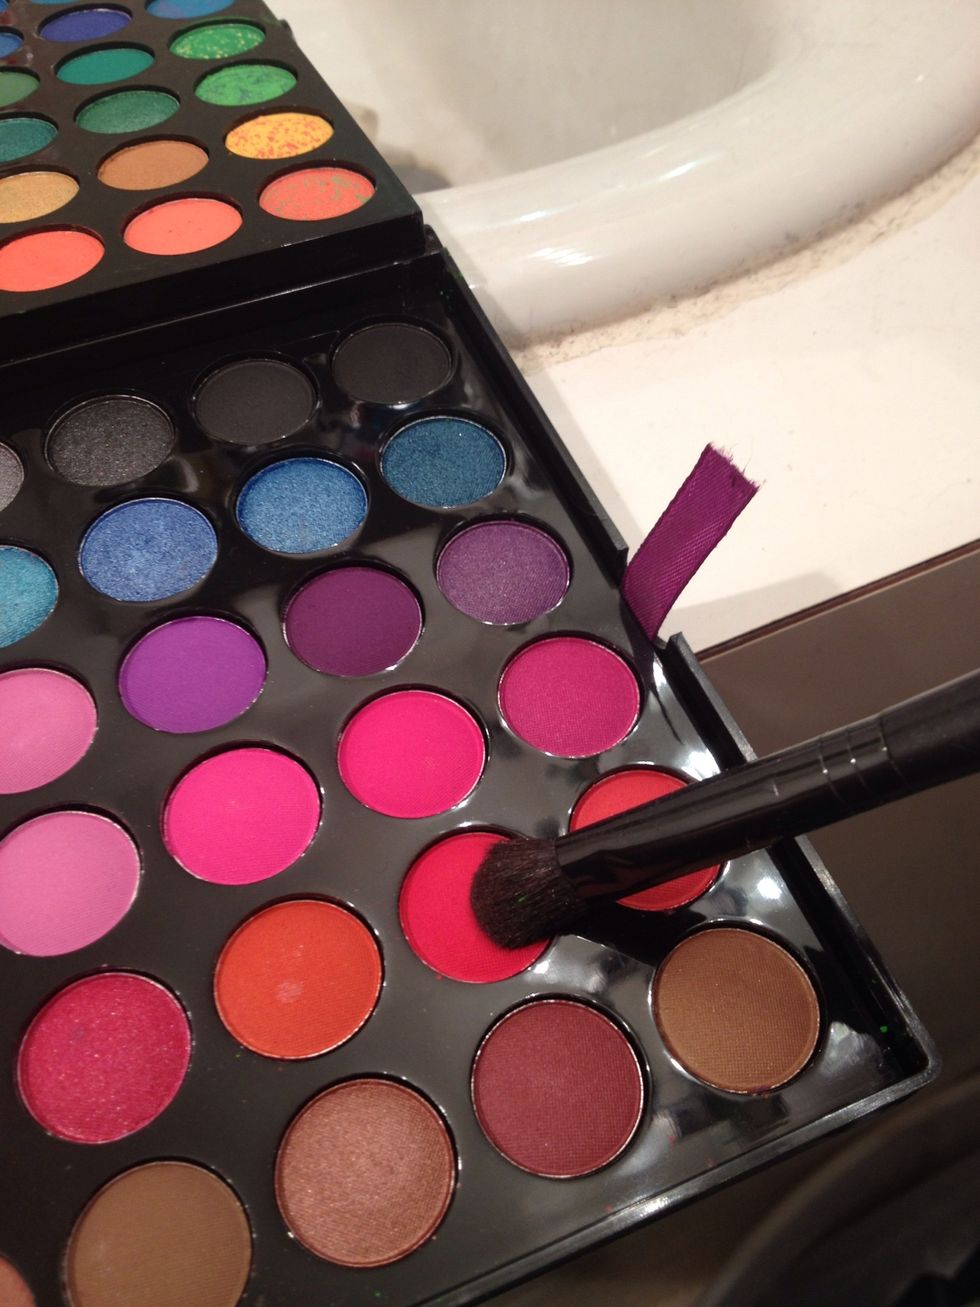
Use a deep red color in your palette..
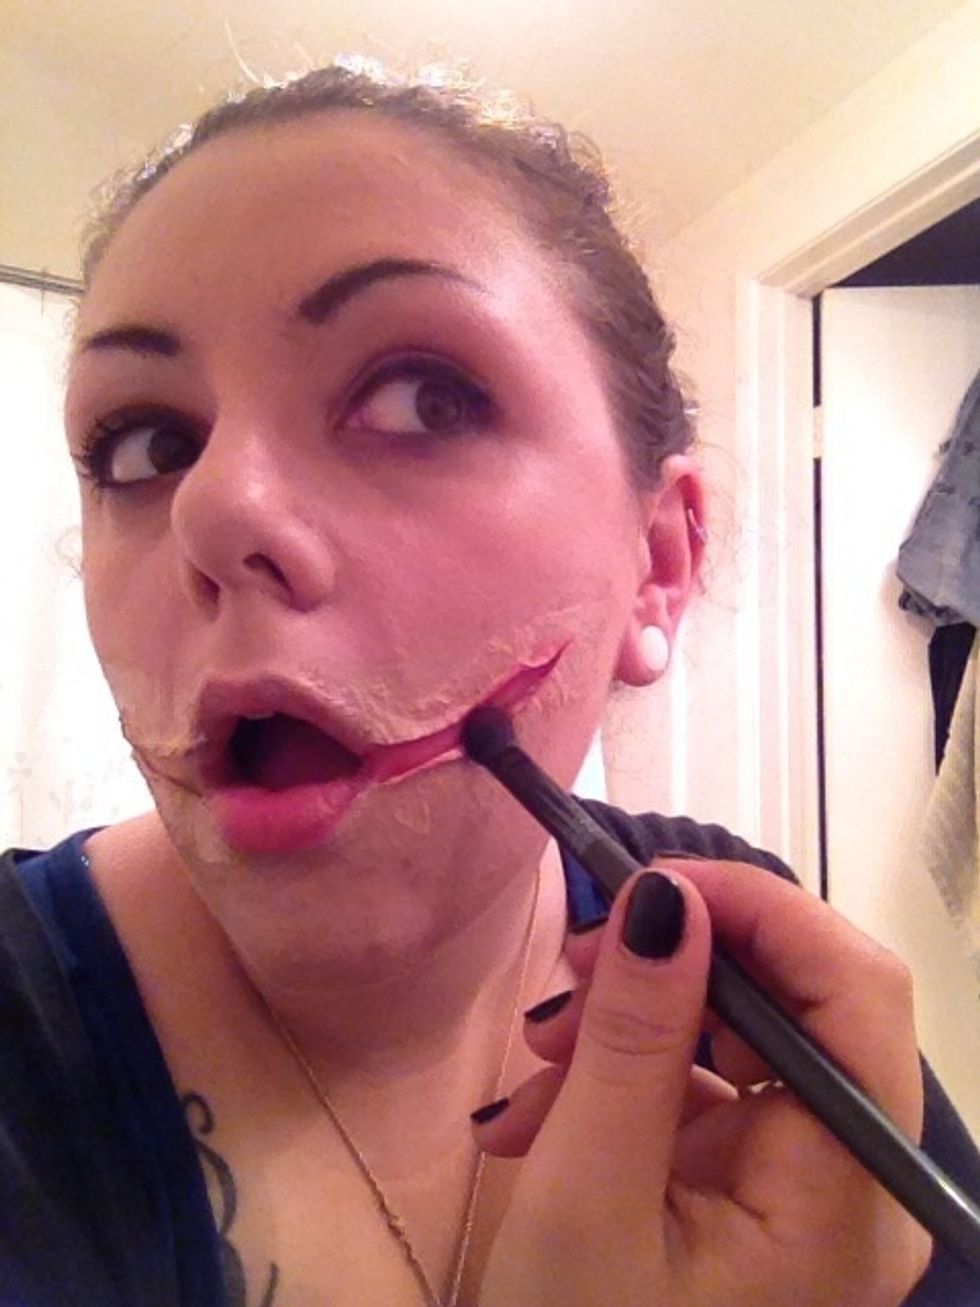
And go inside your wound with ruby-red
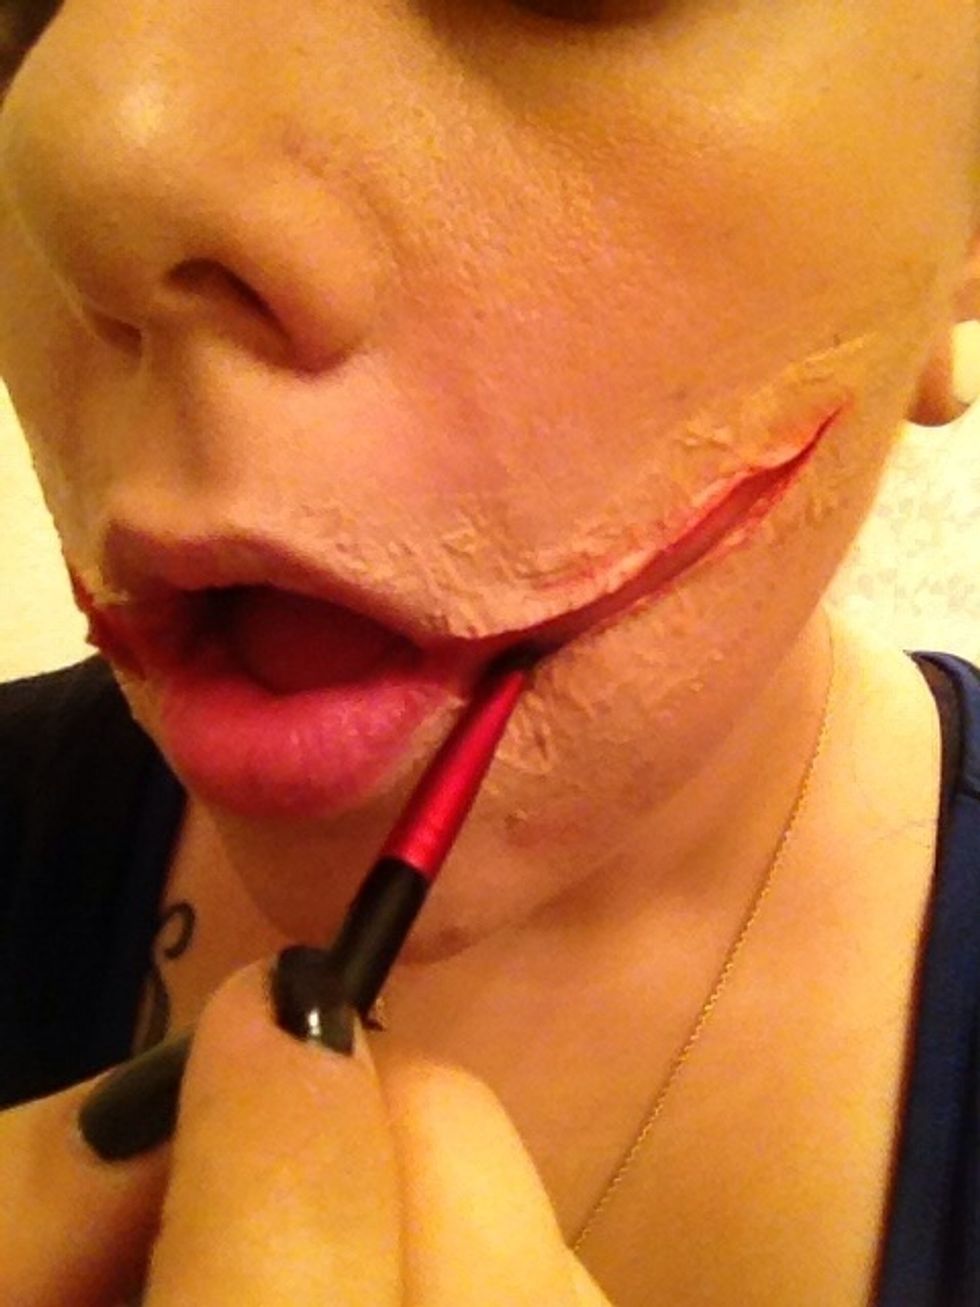
Side by side have a smaller castor and use black around the edges to create depth.
Pretty...
Now use purples for the exterior
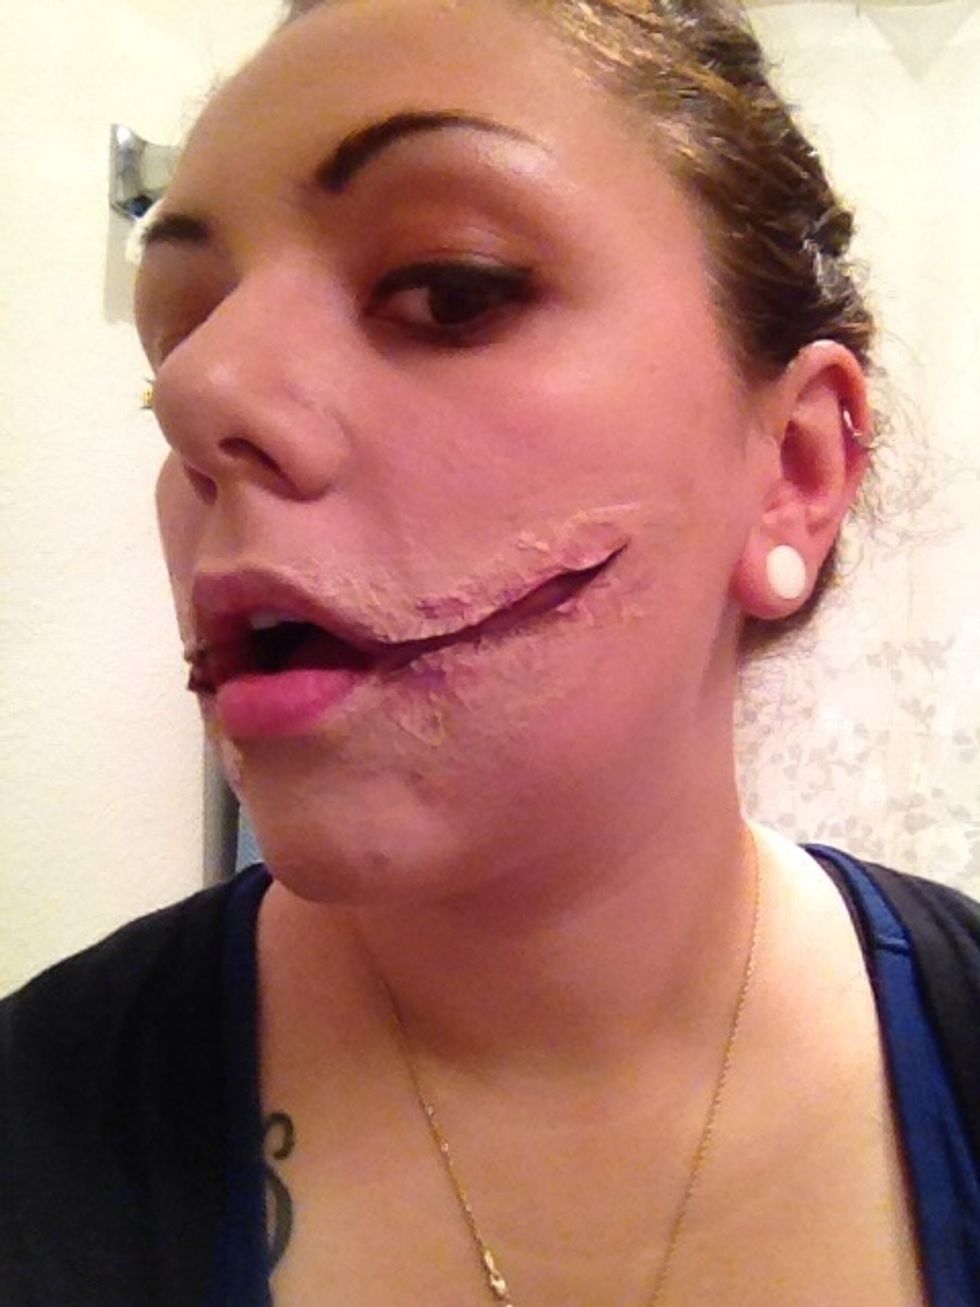
Gives it a bruised look. Play around with dissimilar colors. I use the reds, browns, purples and sometimes greenish for an infected look.

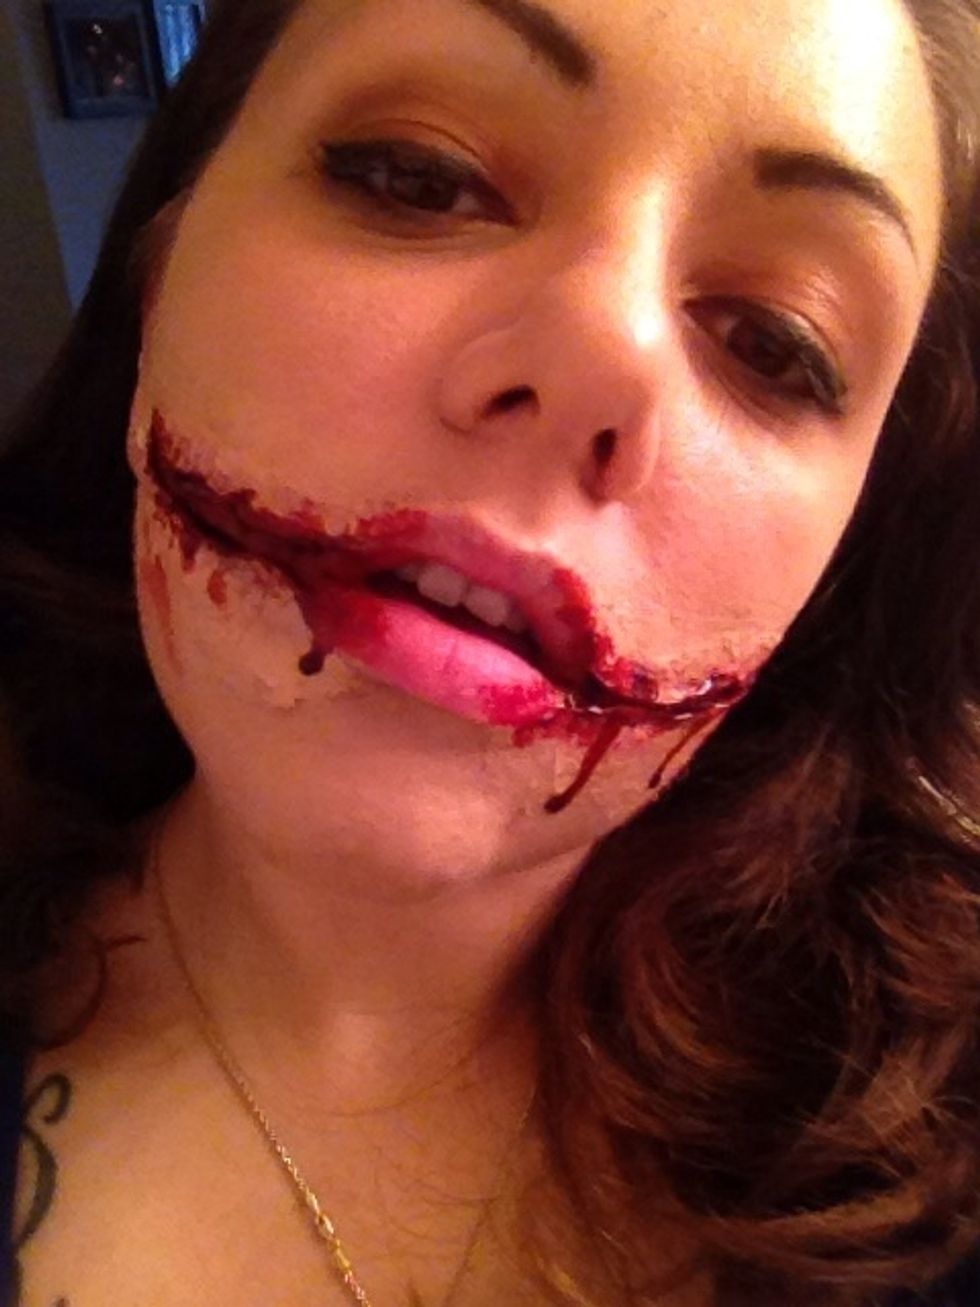
At present my favorite part.. Blood. I utilize 3 different types. Yes there are dissimilar types. I utilize coagulated clot blood, gel blood, and wet blood. I first use the gel blood inside the wound
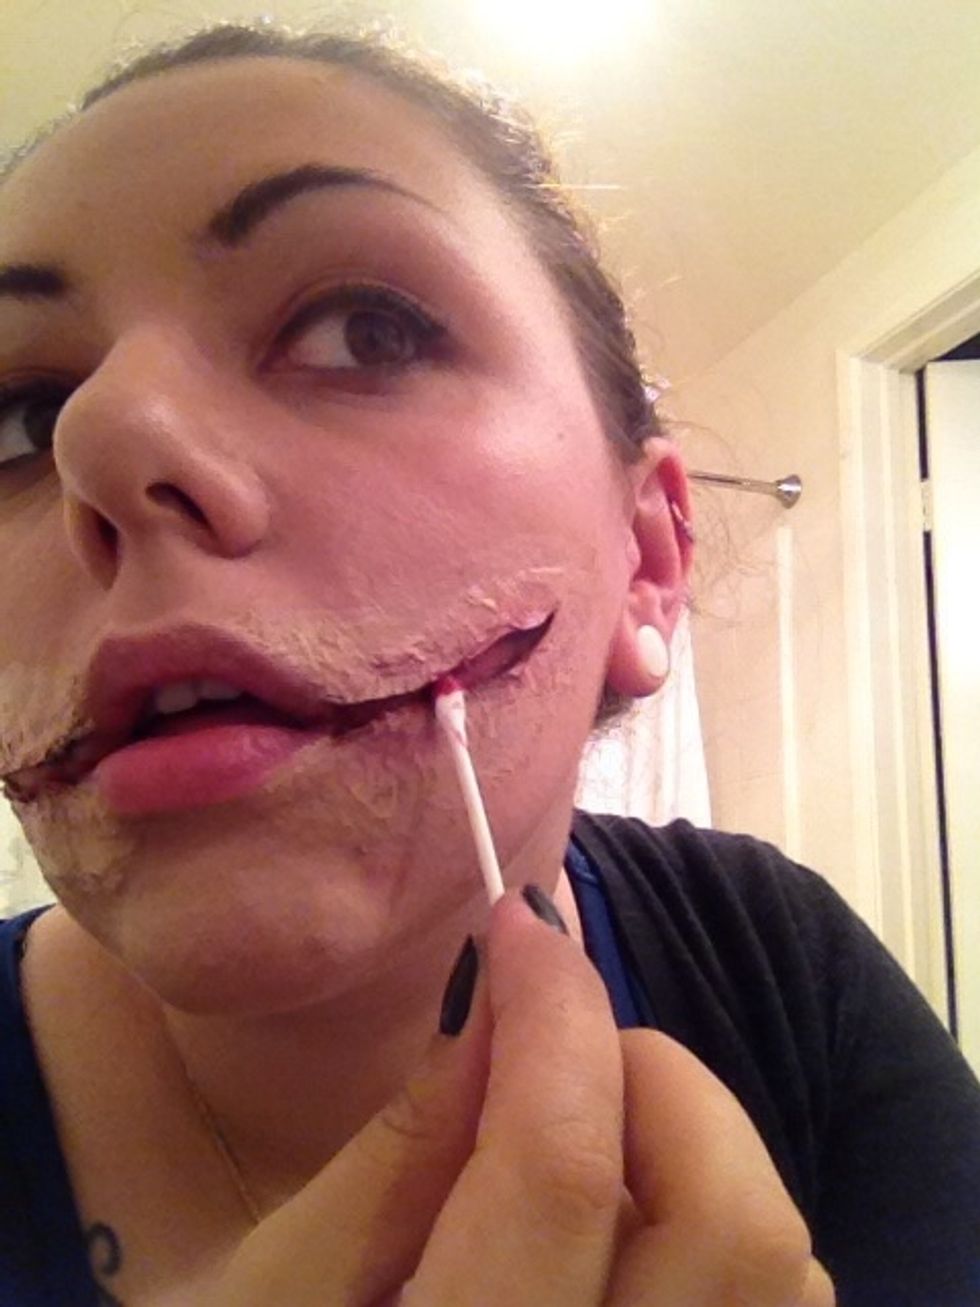
It gives information technology an effect that makes it wait like a fresh wound. I use a Q-tip for application
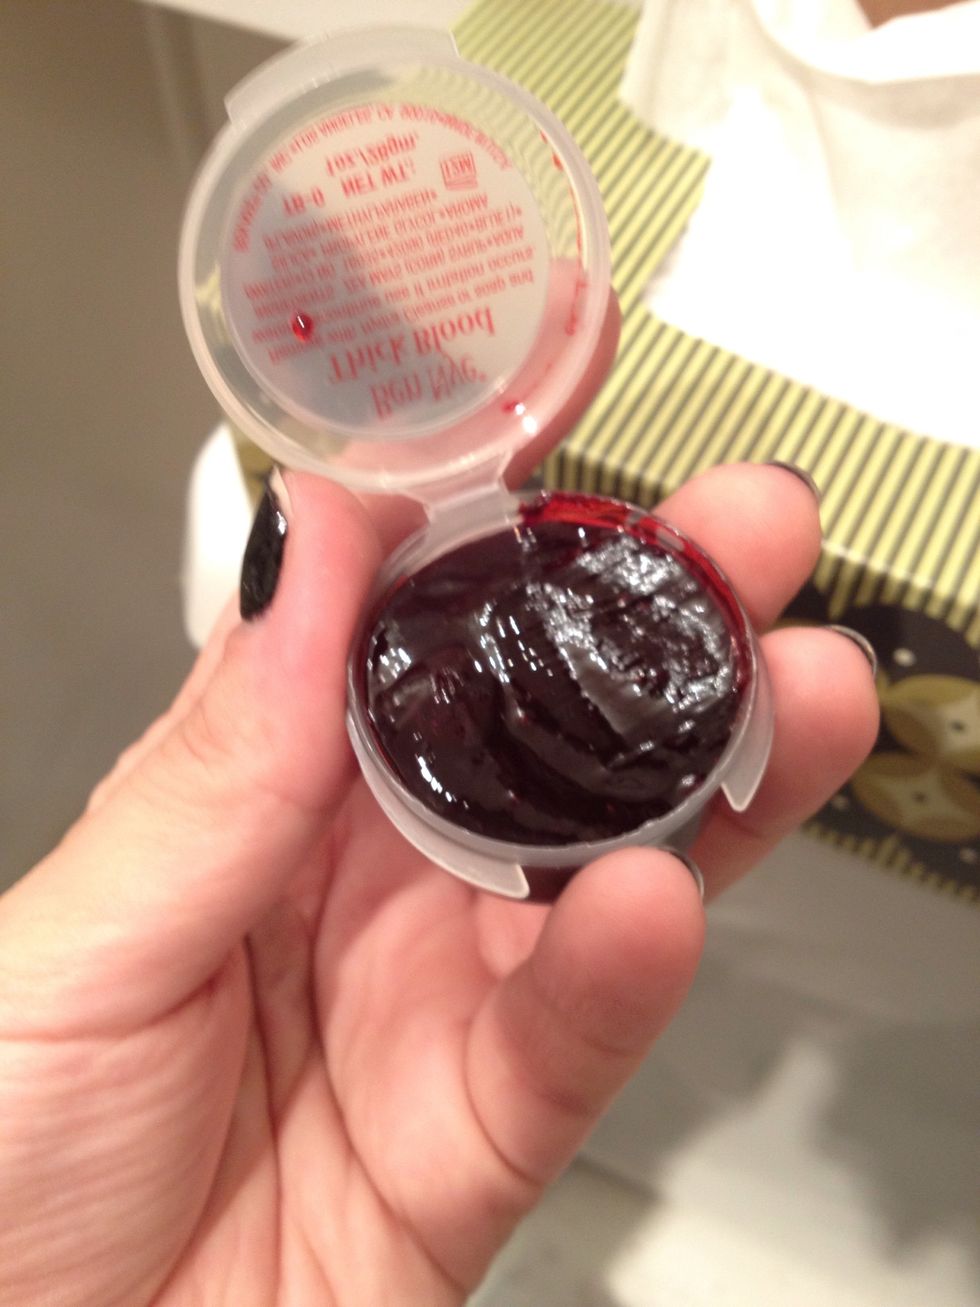
Here is a coagulated looking blood. It looks more like older blood & scabs

Use a coagulated blood for areas like corners of the oral fissure and around the flap of the wound. Endeavour to merely clump information technology in dabs.
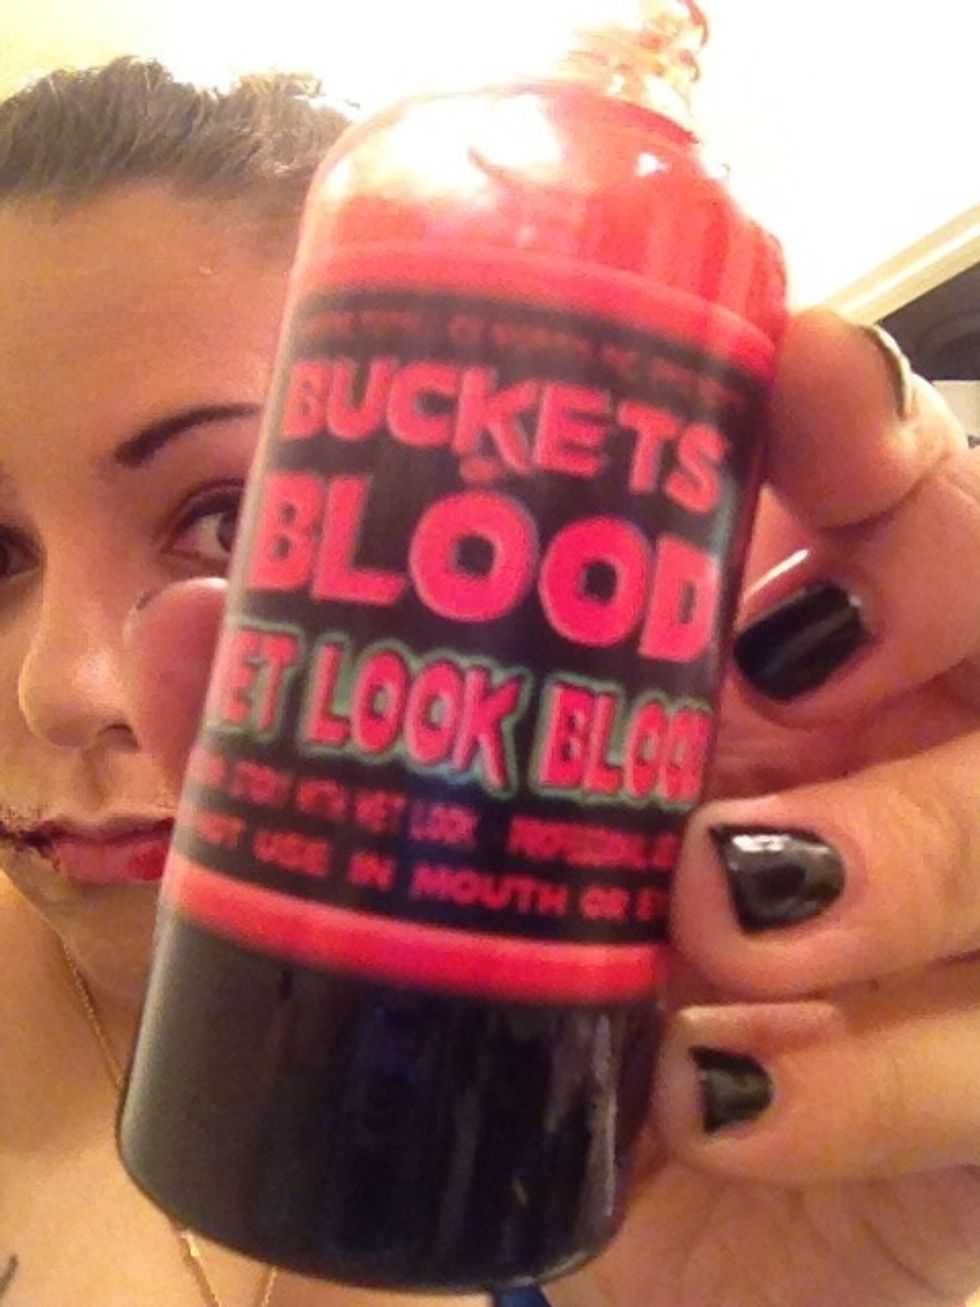
Next is the wet blood. This has more an effect of dripping fresh claret. The great matter about this kind of blood is that it doesn't dry and flake off

I also use a Q-tip for application. Simply permit it to drip downwards your mouth in a natural fashion.
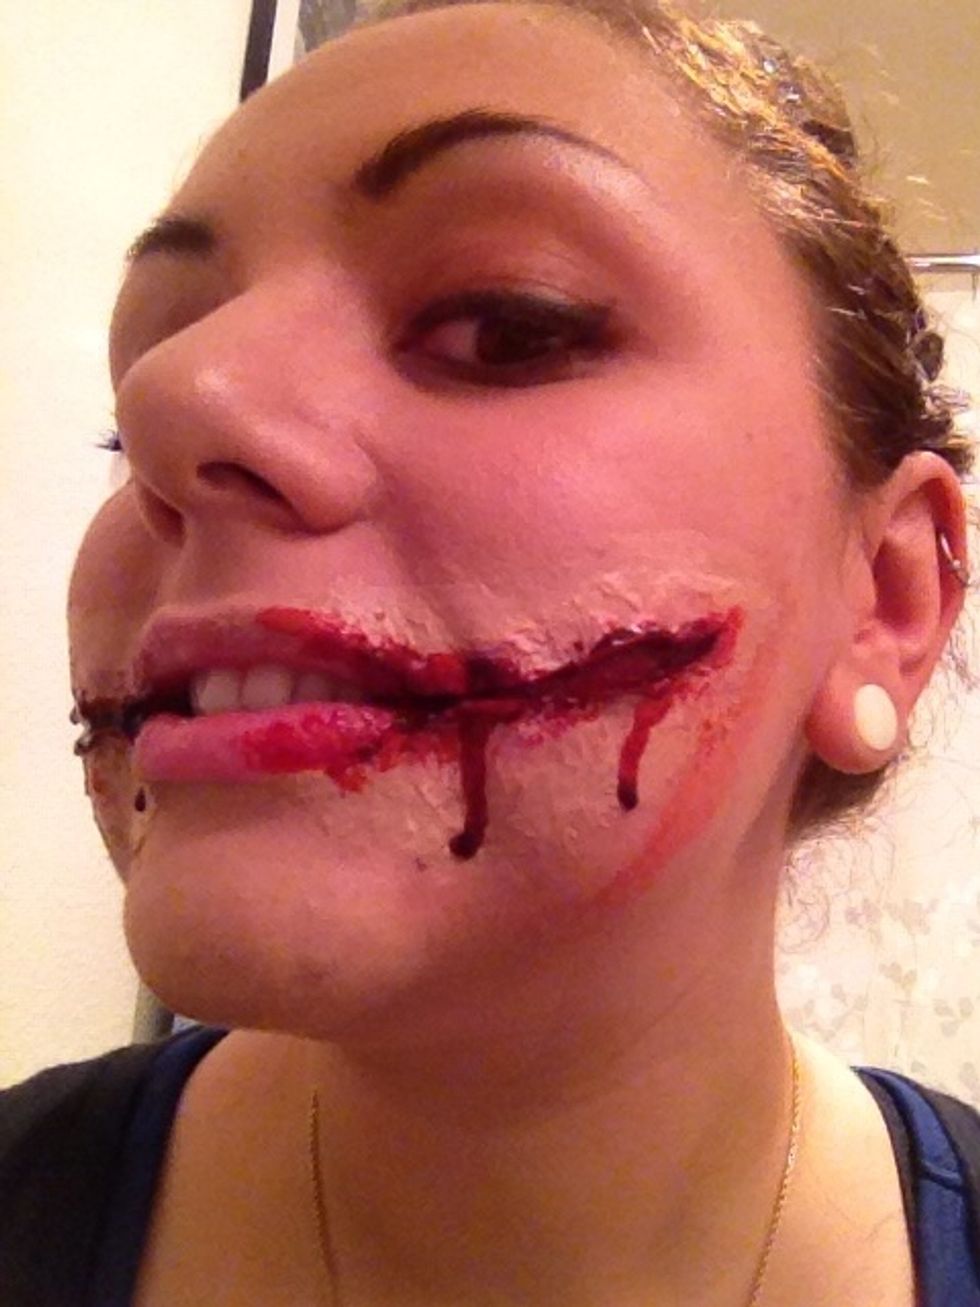
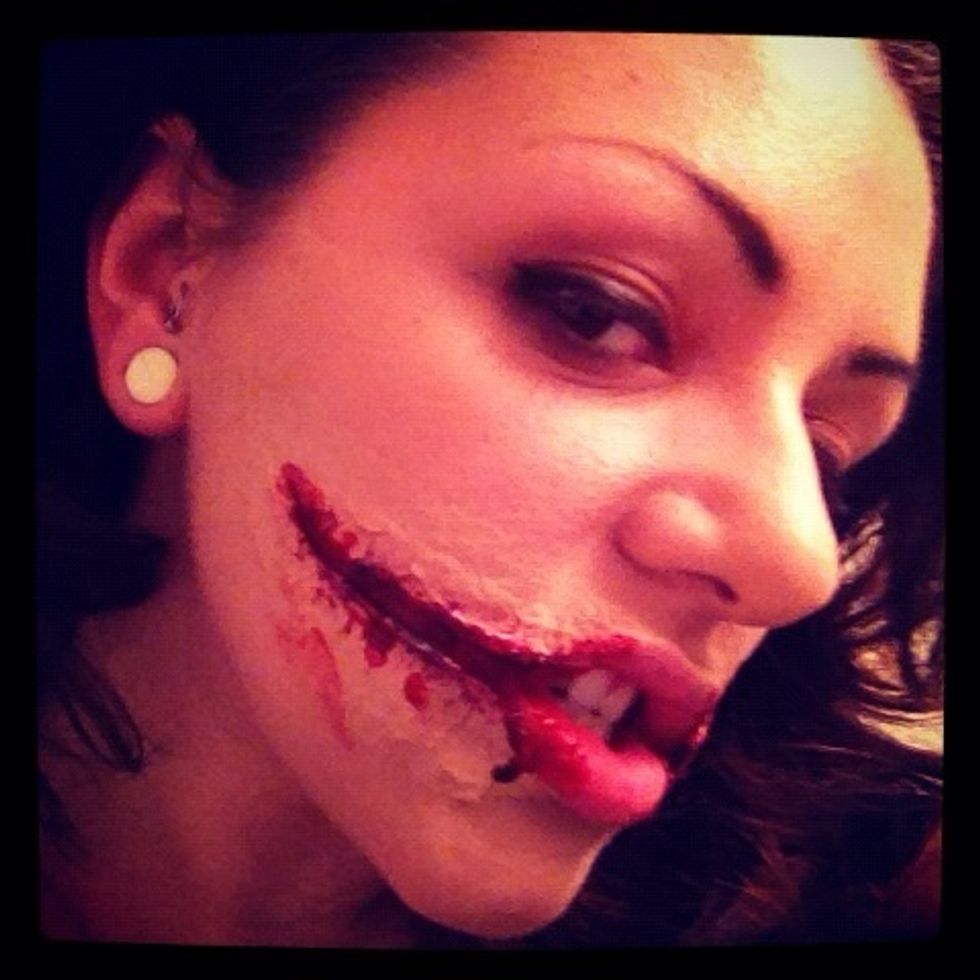
You can accept some wet blood and smear it around the rest of your confront if you like or uses it equally accent effectually your neck... it's upward to you get creative

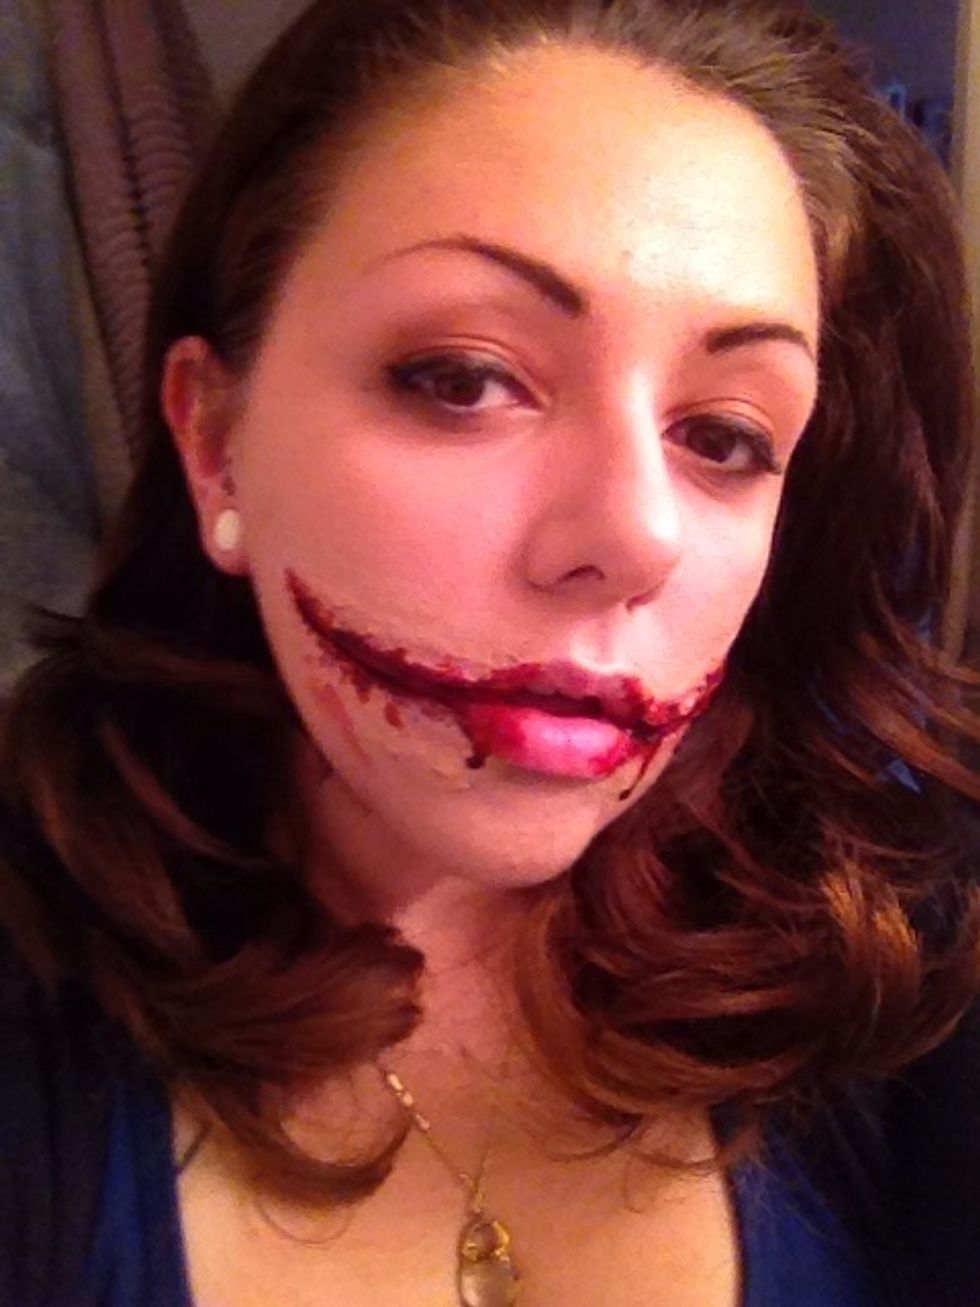
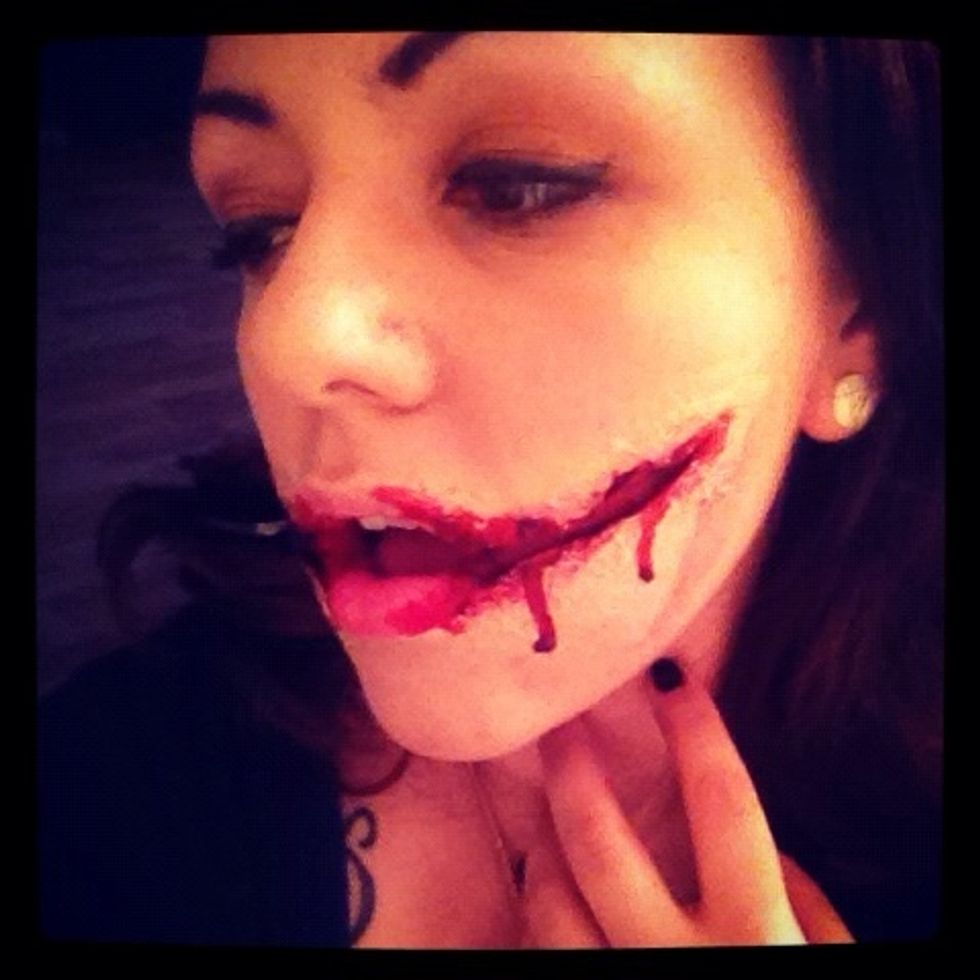
And there you have yourself a "Chelsea Grin"
Have fun with it, experiment with makeup and latex. You can create all kinds of zombie faces. Even torn throats or burns.
And so go out at that place and scare your friends or do your friends makeup... Win a costume competition...
And have a 🎃👻HAPPY HALLOWEEN👻🎃
Source: https://guides.brit.co/guides/make-a-fx-chelsea-grin-for-halloween-pt-2-1
Posted by: williamsreptit.blogspot.com
0 Response to "How To Make A Glasgow Smile Makeup With Elmers Glue"
Post a Comment